
Black Bean Chimichanga
Tonight I tackled that decadent Tex-Mex favorite: chimichangas!
I don’t eat chimichangas often; they’re delicious but don’t seem a particularly healthy choice. In fact, I can only remember ordering them once in recent years. One of my favorite local mexican restaurants makes them small, and fries them in some sort of basket/rack that pinches them to hold them closed, and serves them up 3 at a time. Here, I decided to make large (single-serving), vegetarian chimichanagas instead.
Ingredients (for 3 servings):
- flour tortillas, e.g., 3 large, 10-inch
- black beans, 1 can
- sharp cheddar cheese, shredded, ~1 cup
- bell pepper, 1 large, seeded, deveined, and finely diced
- jalapeno pepper, 2, finely diced
- garlic, 3 cloves, minced
- cumin powder, ~1 t. or to taste
- mexican oregano, ~1 t. or to taste
- epazote, ~1 t. or to taste
- canola oil (for frying)
- all-purpose flour, ~1 T., to mix into a paste with water
Variation, add the following to the filling (to approximately double it):
- whole kernel sweet corn, e.g., ~2/3 cup, from frozen
- 8-10 oz. chopped fresh white button mushroom

Chimichanga filling ingredients
To prepare, first sauté the peppers and garlic in canola oil in a small sauce pan.
Next, add the black beans, stir in the cumin and other spices, reduce heat and simmer. (I used the liquid from the can.)
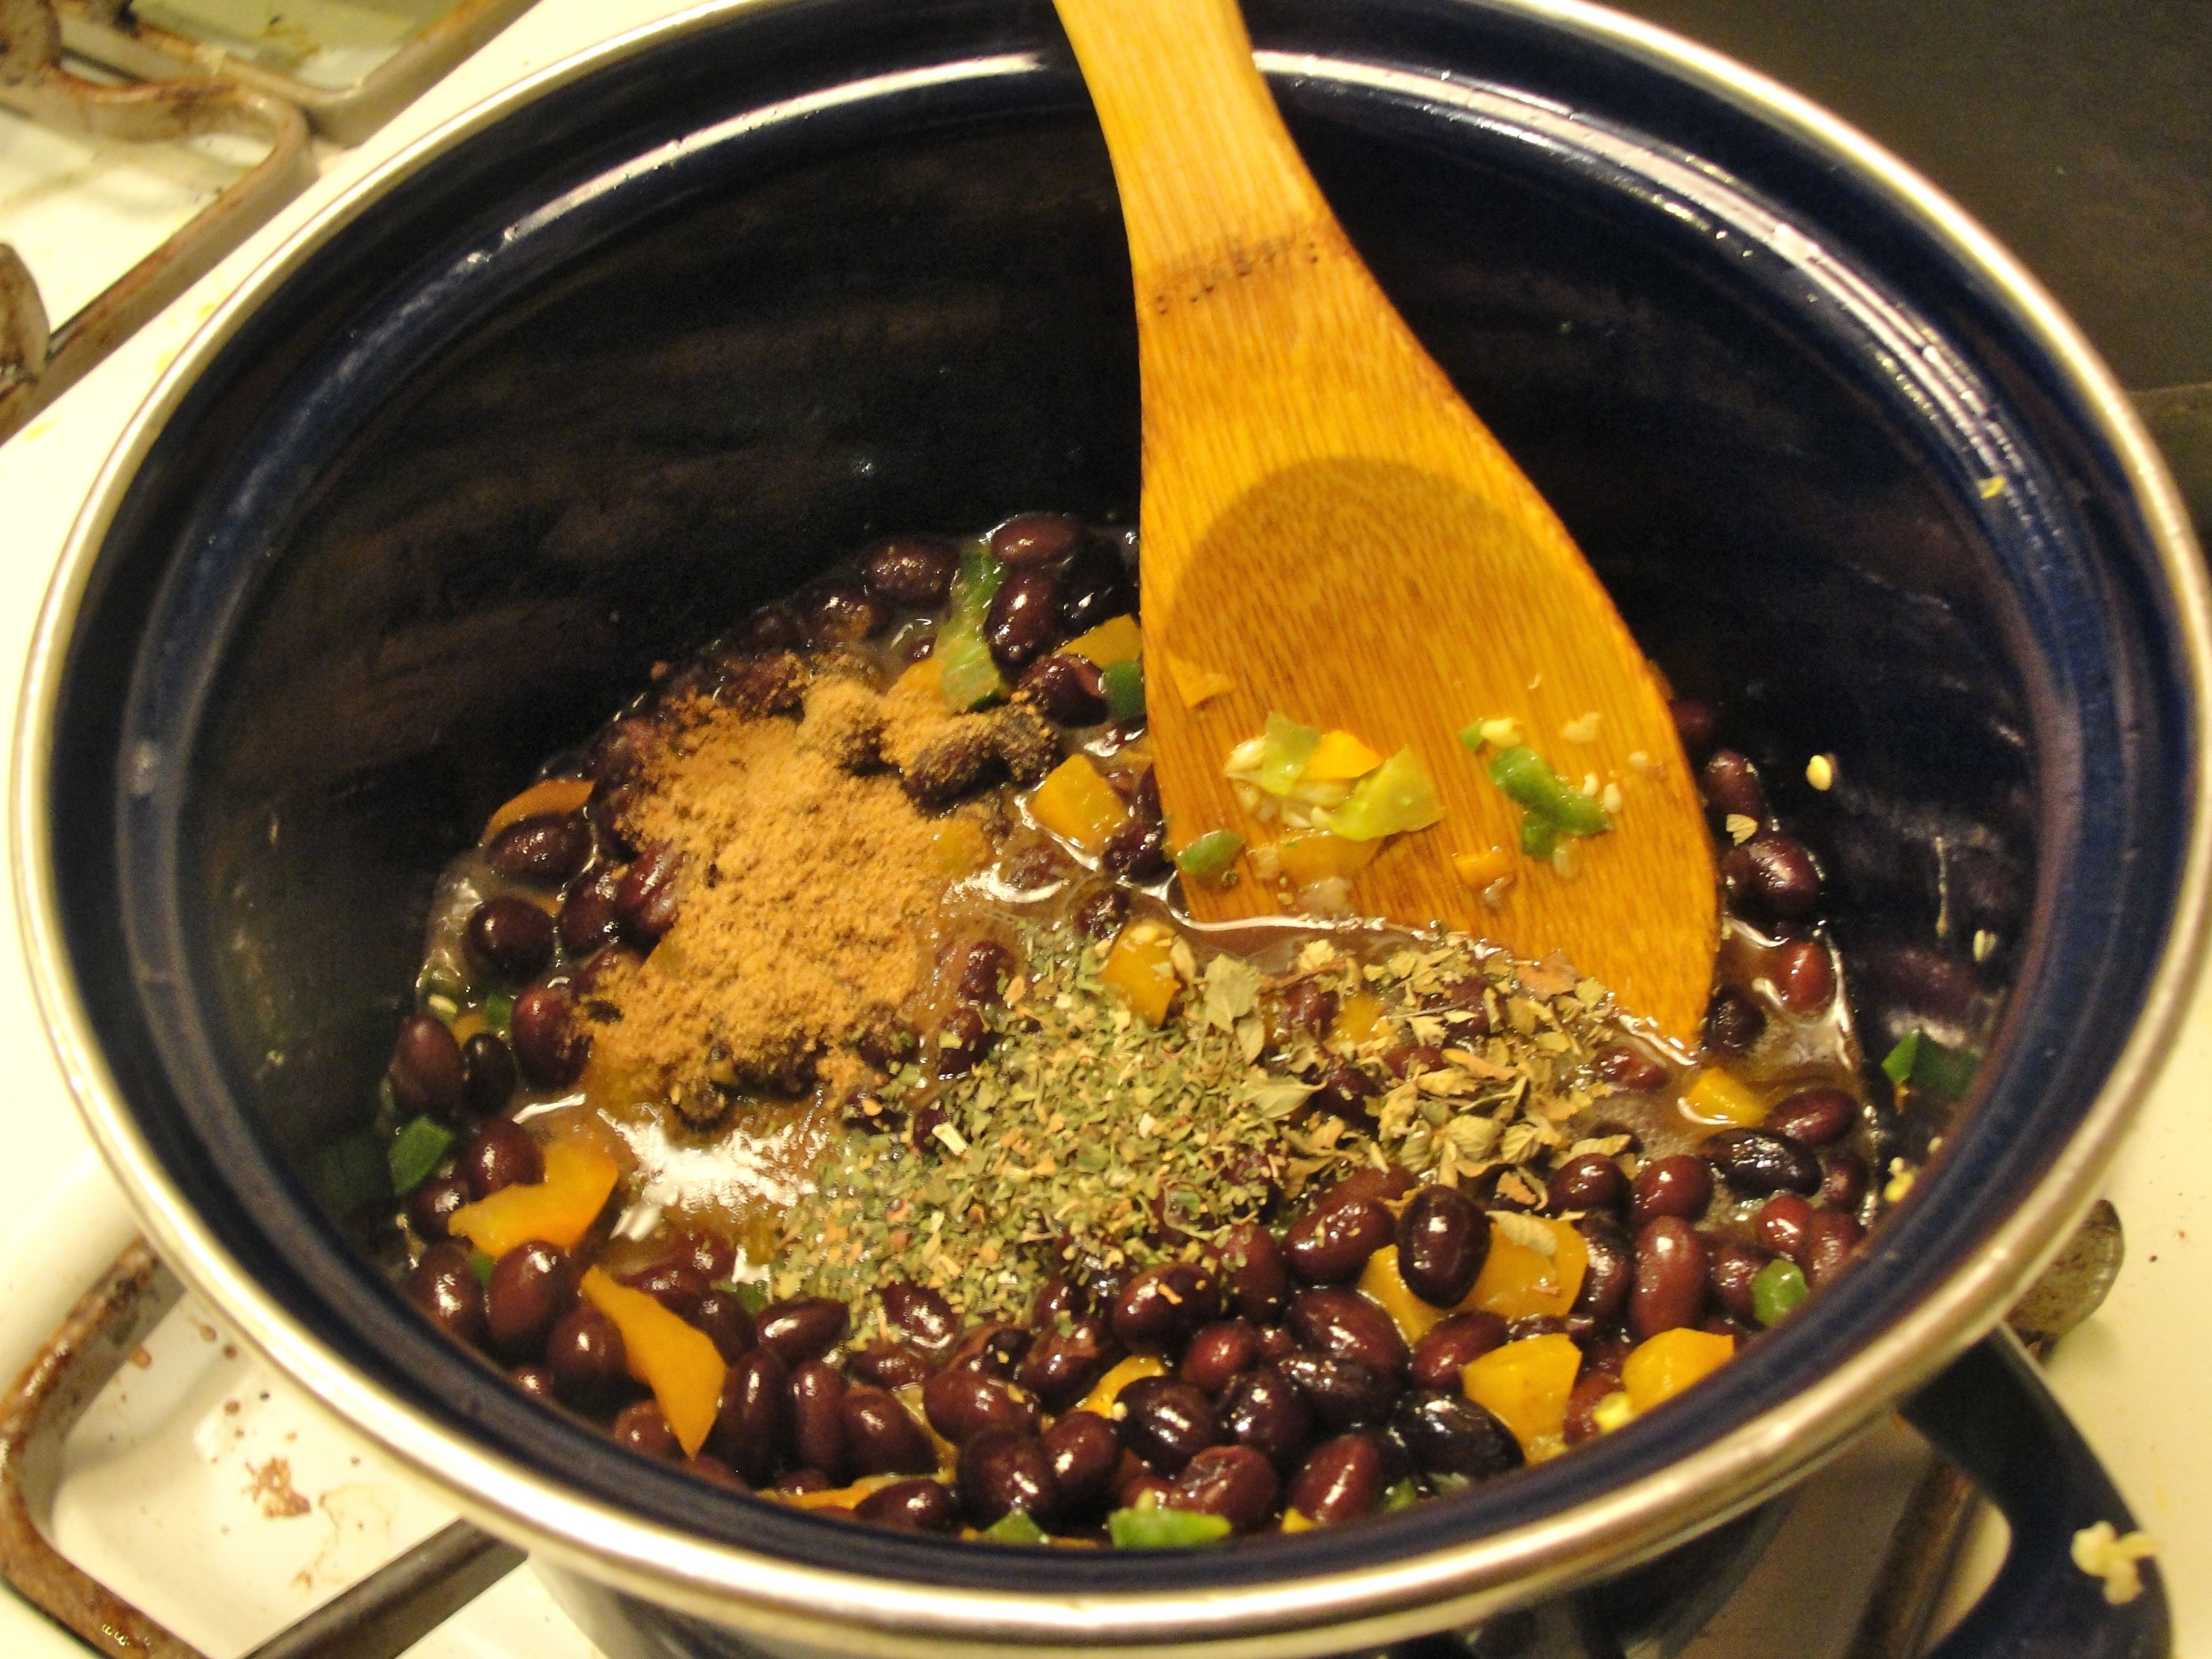
Preparing the filling
When the liquid has reasonably reduced, stir in the shredded cheese and remove the filling from heat.

Adding cheese
Prepare a couple tablespoons of paste by combining flour and water; this will be used to “glue” the chimichangas closed while frying. (I recently learned this trick from the television program “America’s Test Kitchen.”)
Microwave the tortillas (perhaps 1.5 minutes on high) so that they are supple, and place some of the filling in the center, wrapping each one at a time.
Apply the flour-based glue to the edges of the tortilla when wrapping for deep-frying.

Wrapping and “glueing” the chimichangas
Heat canola oil in a pan (to ~300° F), perhaps 1/2 to 2/3″ deep, i.e., just enough so about 1/2 the thickness of the chimichanga is in the oil when they’re all placed in the pan simultaneously. You can test that the oil is at a frying temperature by seeing that it bubbles when a small piece of tortilla is inserted.
Place the chimichangas carefully into the oil, seam-side down first.

Deep-frying chimichangas, one side at a time
After 2-3 minutes, check to see if the undersides are browned. Turn the chimichangas over, when they’re nicely browned on the bottoms.

Flipping and frying the other side
Carefully remove the chimichangas when the tops are attractively browned and place them on a rack with paper towels and allow them to cool slightly while excess oil drains from them.
I served my chimichanga with a simple salad of chopped lettuce, tomato, and a lime wedge, and accompanied it with sour cream.

Chimichanga filled with black beans, peppers, and cheese
All in all, these chimichangas were as tasty as those typically found in restaurants, and surprisingly easy to prepare; give them a try sometime when you’re in the mood to spoil yourself!
To serve leftover chimichangas (from the refrigerator): First, microwave each chimichanga on high, for perhaps 1 minute 30 seconds. Then bake the chimichanga, optionally covered with sauce and/or cheese, in a toaster oven or conventional oven at 350-400° F for a couple minutes; this will make them wonderfully crispy as when served fresh.
Here’s the Cook’s Country / America’s Test Kitchen TV video recipe that suggested using the flour/water paste to “glue” chimichangas for frying: