Chipotle carnitas and avocado taco
First off, if you landed here expecting an approximation of the carnitas from Chipotle Mexican Grill restaurant, you’re in the wrong place. Instead, it’s my slight twist on traditonal carnitas, the mexican pulled-pork staple.
Carnitas is one of my favorite taco and burrito fillings, but I’d not made this delicious meat at home.
I decided to start with Rick Bayless’ recipe that employs a two-phase cooking method: first moist, then dry[ing]. My variant uses chipotle peppers for flavor, rather than other spices or smoke flavoring.
Truth be told, my newfound inspiration to actually make carnitas was that I found a lean 2 pound pork rib end roast in my freezer; I’d bought it some time ago on sale for less than $3 per pound. Also, I happened to have a broiler pan with rendered bacon fat from yesterday’s breakfast. Bacon fat is typically quite salty (compared to lard), but I had accidentally purchased low-sodium bacon, so I decided to experiment with using the bacon fat in place of salt and lard, or oil, that you typically find in carnitas recipes.

Soaking dried chipotle peppers
First, I soaked two large dried chipotle peppers, rinsed them, removed the veins, seeds, and stems, and then liquified them with some of the soaking water (~1 cup) in a blender.

Blended chipotles and soaking water
Next, I cut the pork into approximately 2″ cubes and placed them in a baking dish. Because the rib end roast was quite lean, I added the warm rendered pork fat (~1/3 cup) from cooking 1 pound of low-sodium bacon (left from yesterday’s breakfast).

Boneless pork end rib roast, cubed and topped with rendered pork fat.
I poured the chipotle and water mixture over the pork, covered the dish, and put in a preheated 375° F oven for 1 hour.
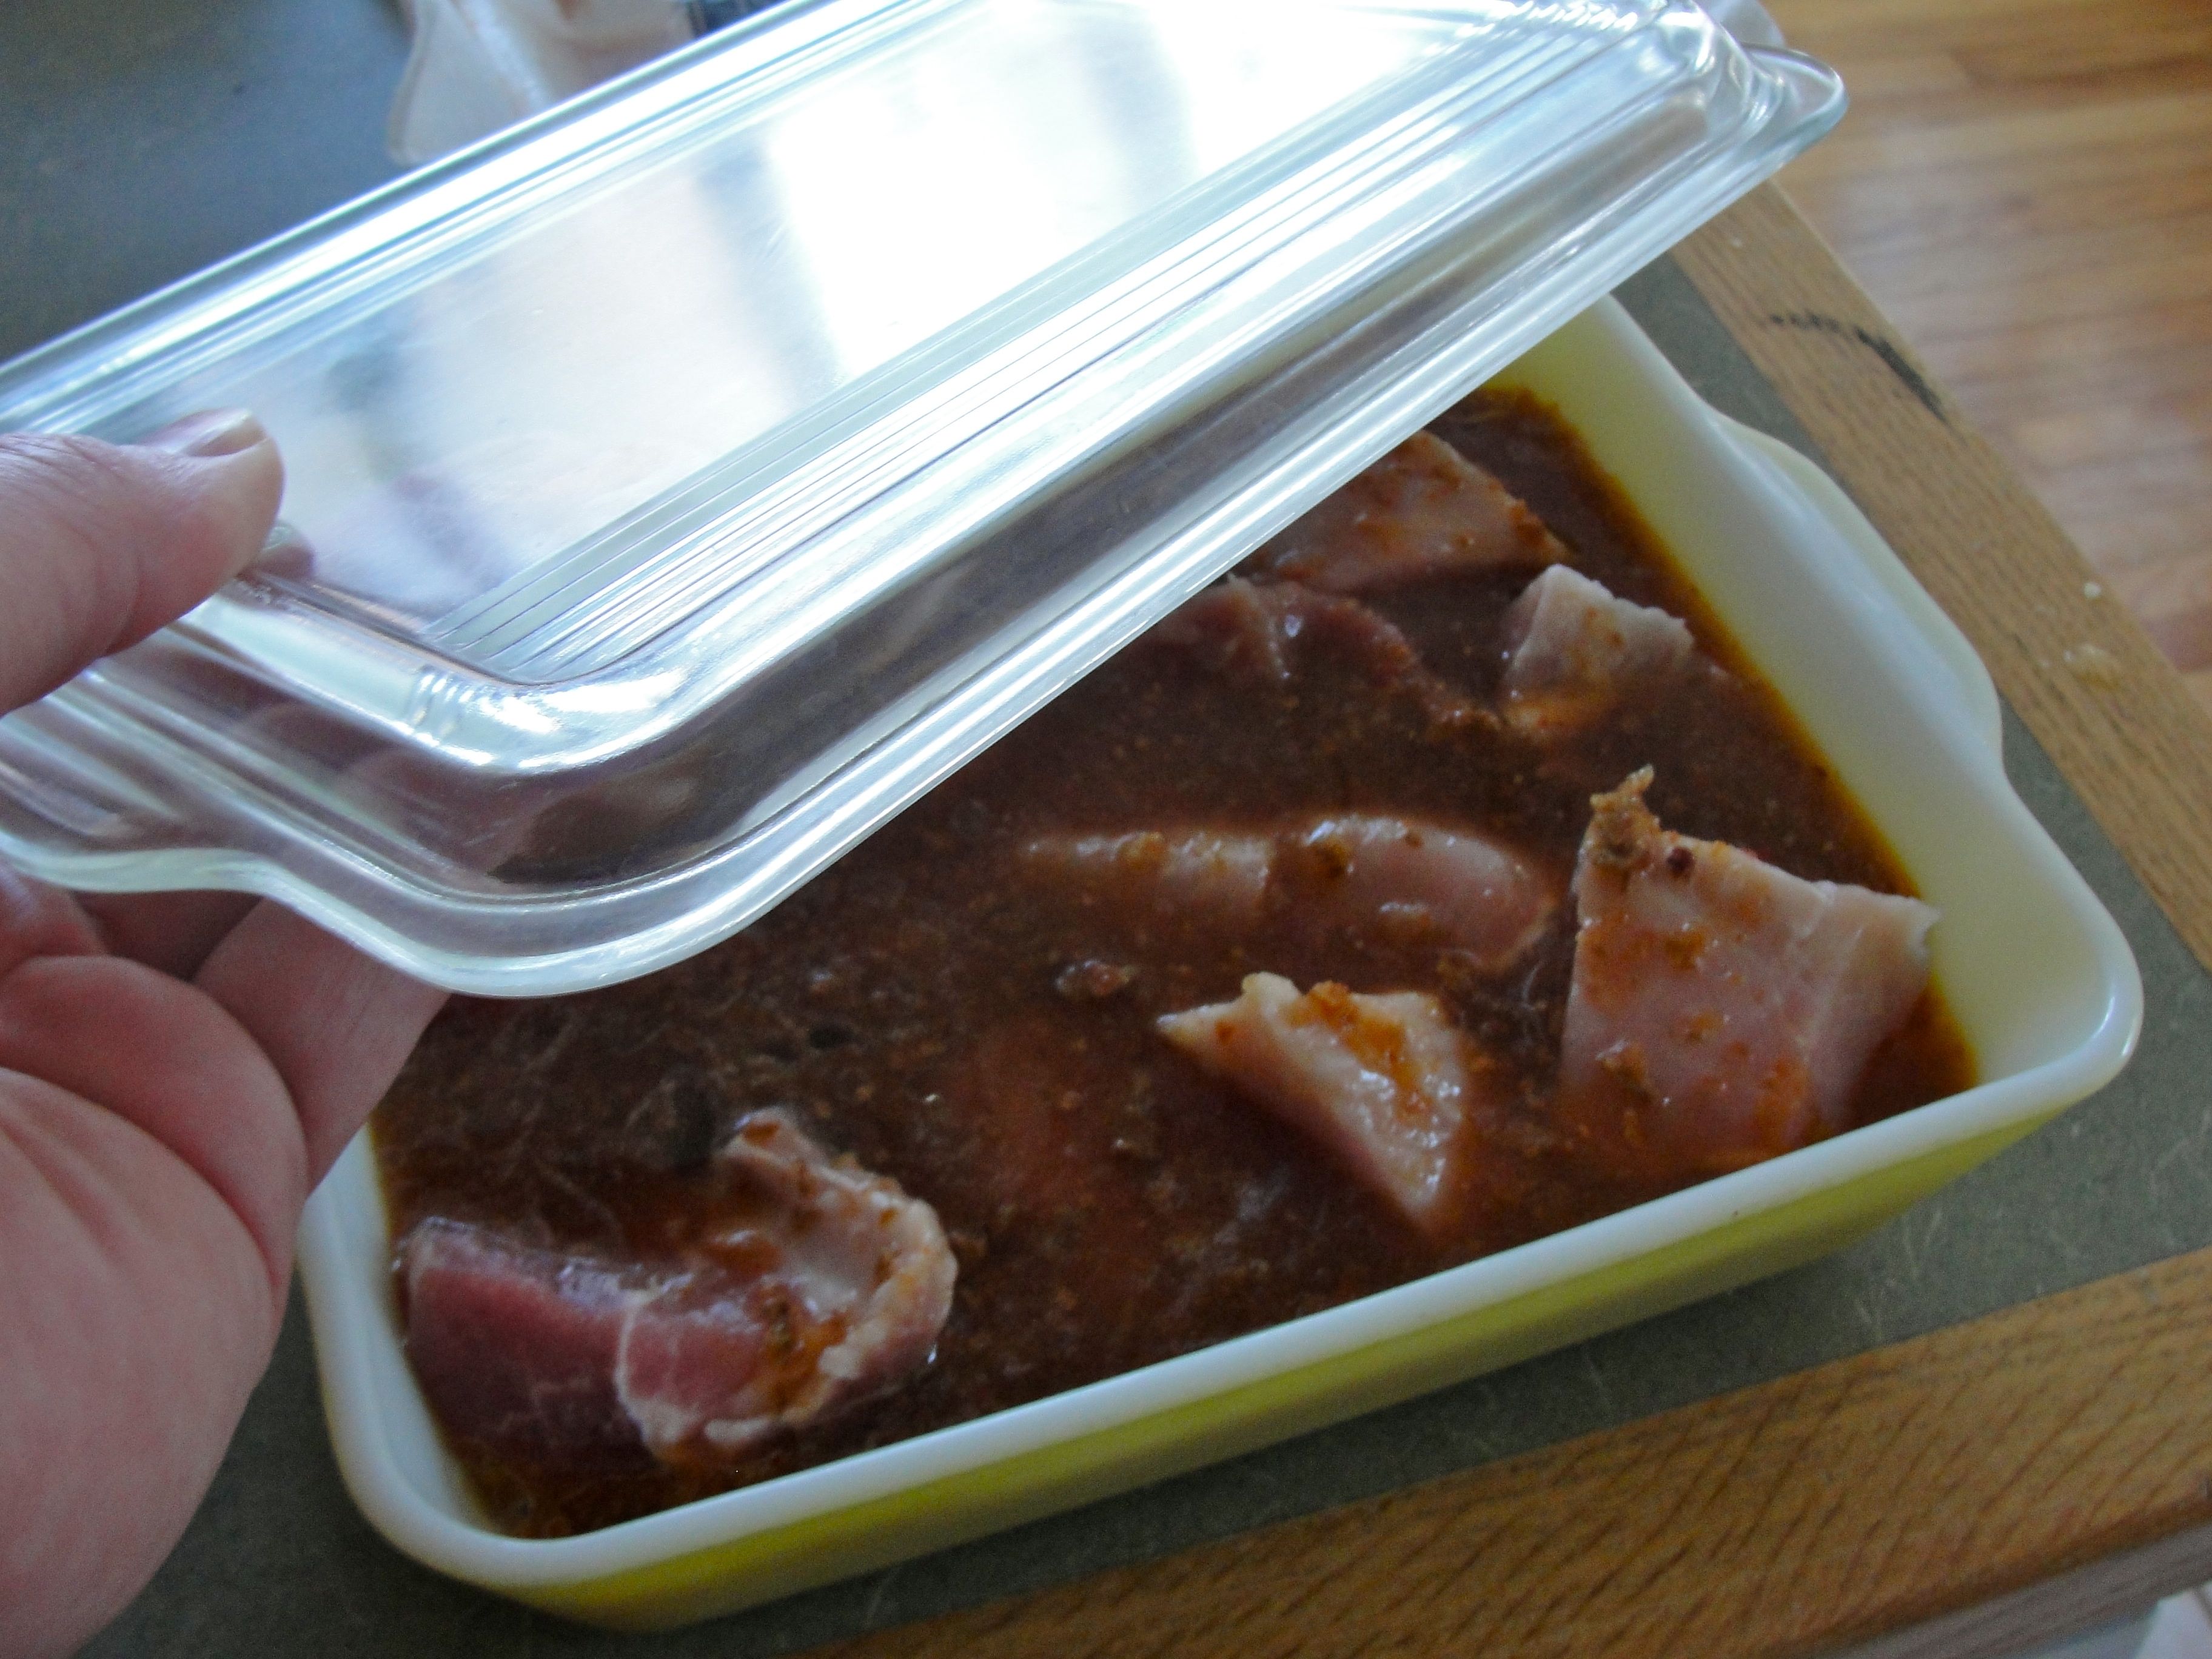
Cover the pork with fat, and water mixture, in a covered dish in preparation for moist cooking phase.
After this, I uncovered the pork, placed the baking dish on a foil-covered pan (in case of spatter), and “dry cooked” until the water mostly evaporated, leaving just the rendered fat. During this phase, be sure to turn the pieces regularly, e.g., progressively more frequently to every 7-15 minutes, both to keep the pieces moist and to prevent burning on top.

Beginning dry cooking phase (uncovered)
Total cooking times was 2 hours 15 minutes: 1 hour moist cooking (covered) at 375° F and 1 hour 15 minutes dry cooking (uncovered, turning occassionally) at 450° F. Afterwards, I used two forks to pull the pork into small pieces.

Finished carnitas, pulled into small pieces with two forks.
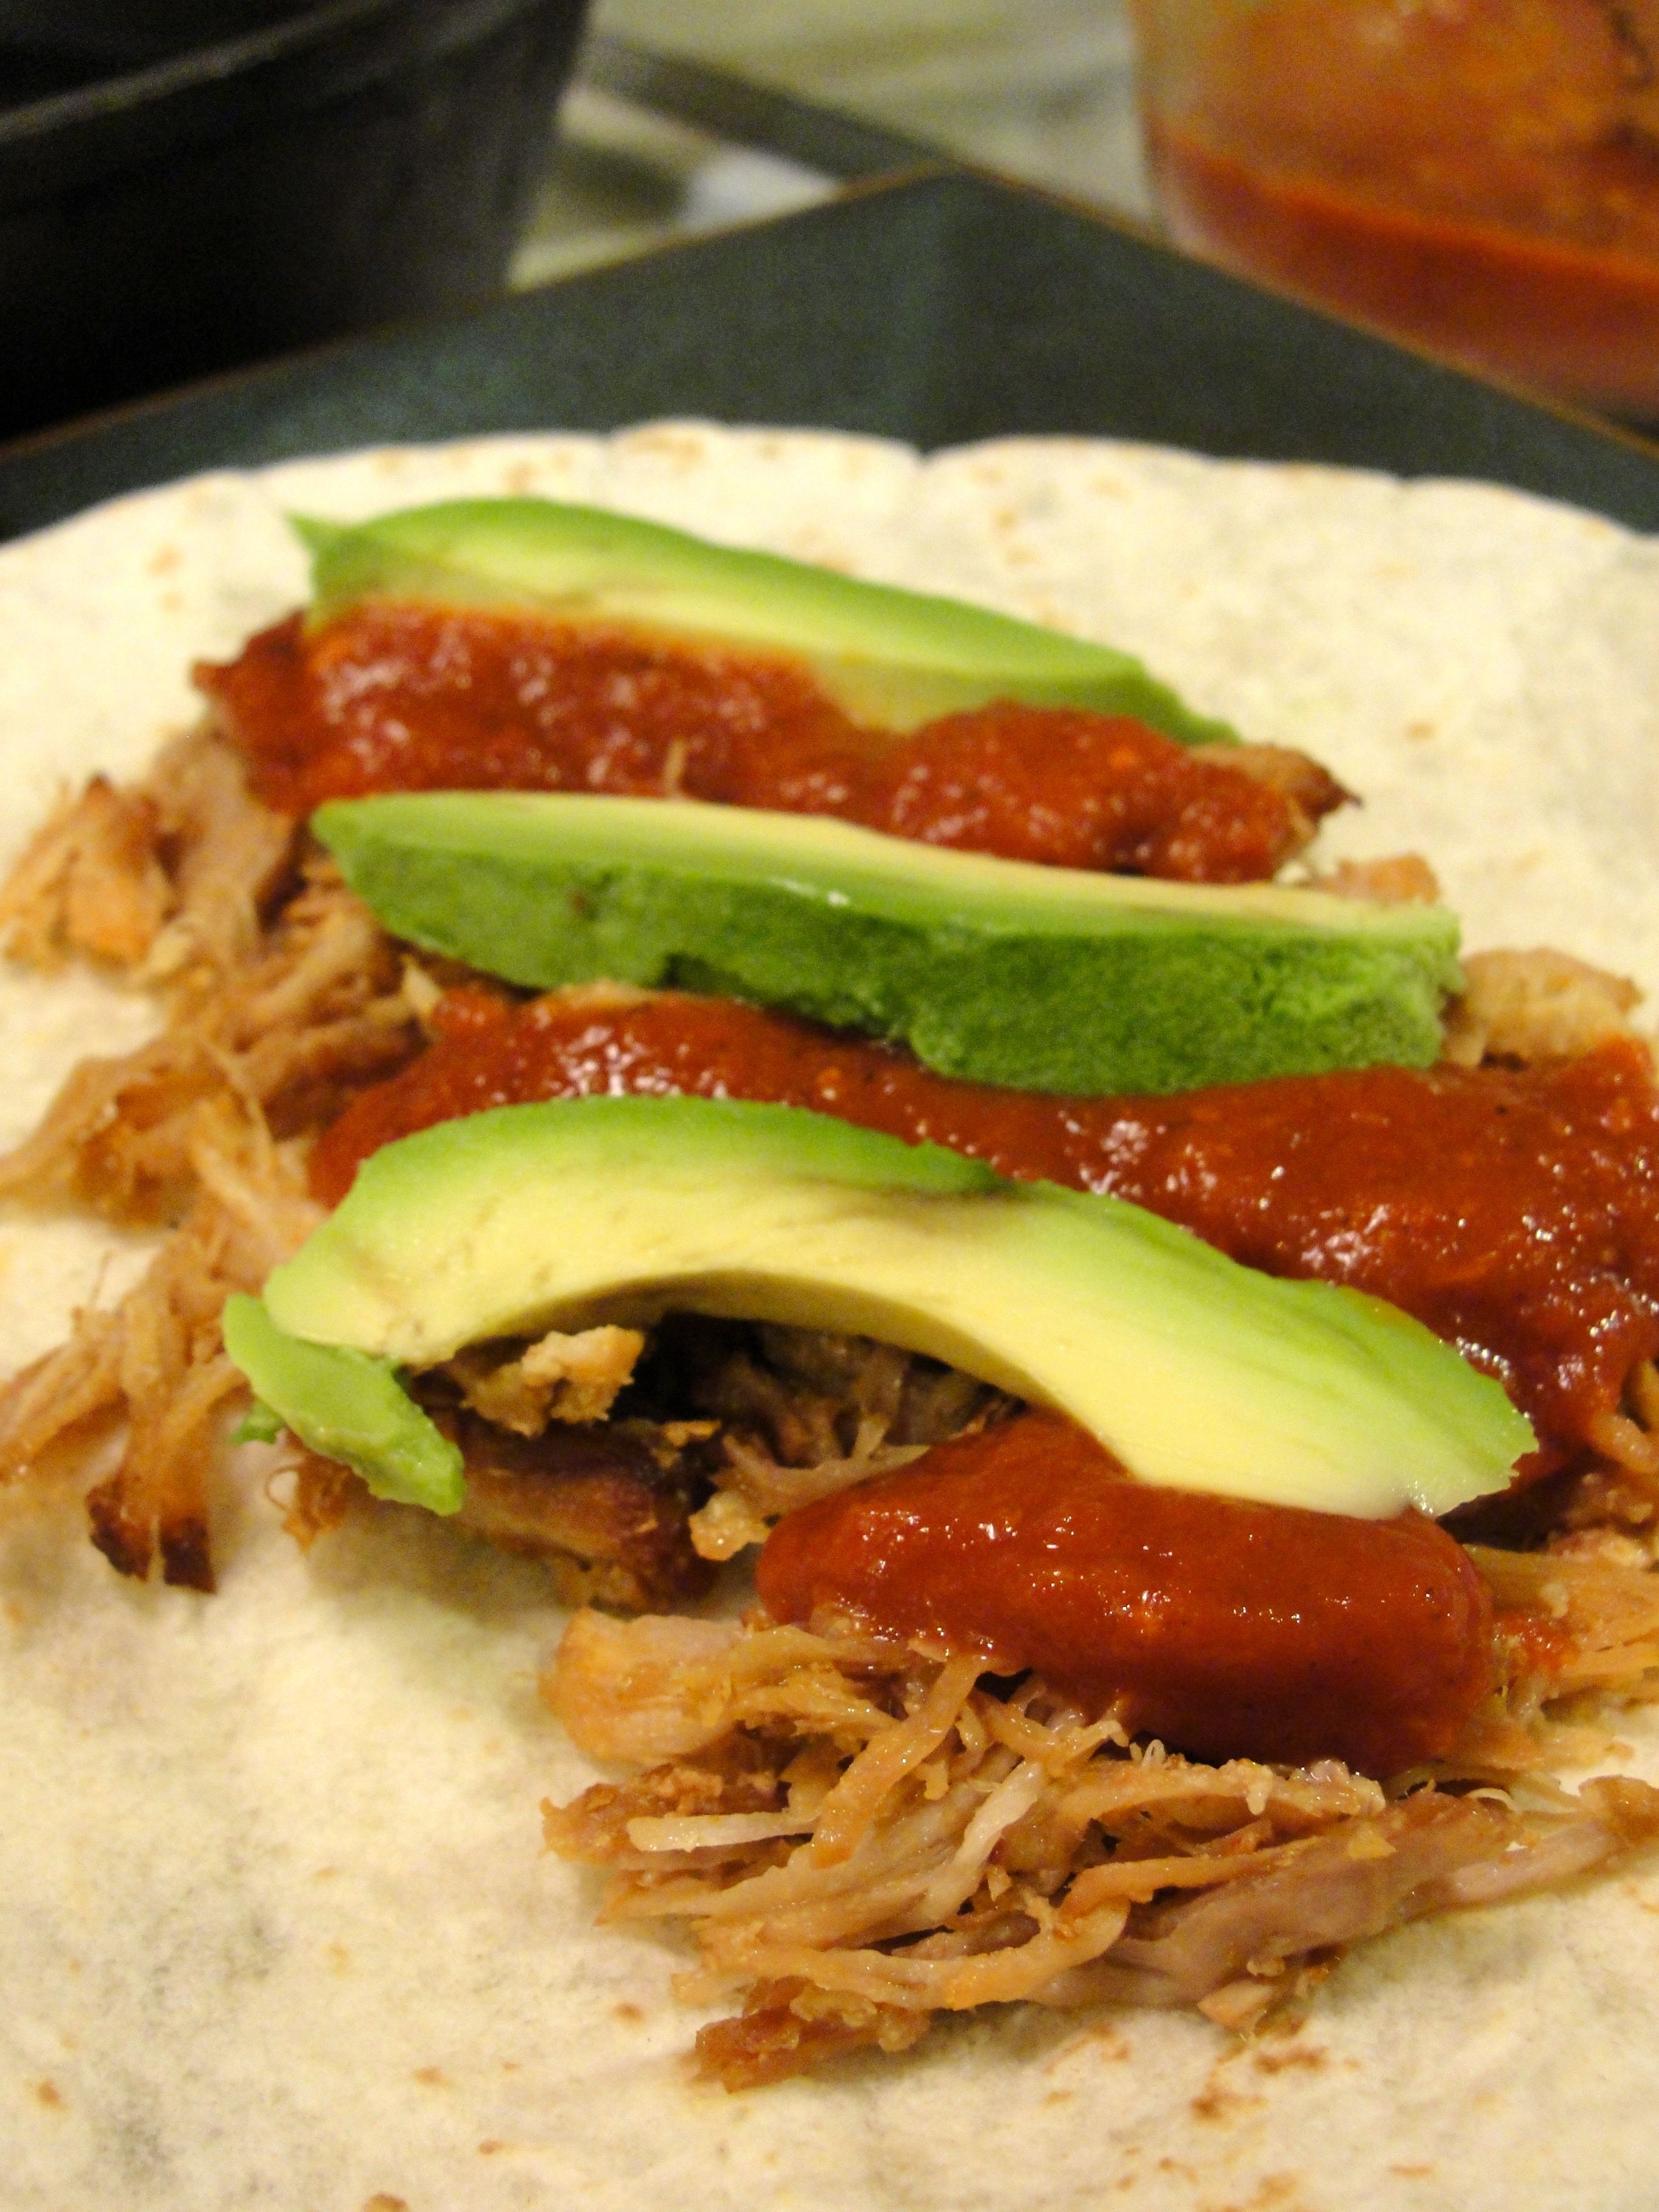
I served the carnitas in tacos, on warmed tortillas, topped with a homemade chipotle garlic salsa and slices of fresh, ripe avocado.

Chipotle carnitas and avocado taco
This was a satisfying first effort at carnitas, having mild smokiness both from the bacon and from the chipotles. I’ll definitely make it again. I’ll caution you about using bacon fat here, though… it definitely had a generous amount of salt, so don’t add any more. A less-lean cut of pork would be a better option, obviating the need for added fat to get the moist consistency that one expects from carnitas.
Here are the recipes I consulted for preparation ideas:
- Slow-Roasted Pork Carnitas (Chef Rick Bayless)
- Carnitas (Food Network)
UPDATE (March, 2013):
I made this again, this time with pork shoulder roast ($1.99/lb.), just its natural fat and a bit of salt, but with many more rehydrated chipotles and an ancho chile. This was great too, and less salty than the prior experiment with rendered bacon fat.

Carnitas taco with white onion, cilantro, and hot sauce.
UPDATE (March, 2014):
I tried this same preparation with beef shoulder roast. Unfortunately, this isn’t a great technique for beef; it just wasn’t tender. Once cooked, I had to chop the meat into tiny pieces. It tasted good, and is not unlike the texture of the finely chopped steak some mexican kitchens serve, but isn’t tender the way pot roast or barbacoa would be. For that, you’ll have to slow cook for longer time.

Beef shoulder roast prepared by this wet, then dry method; it’s not the same.