
Tomato Coconut Curry
Holy crap, apparently it’s been 2 years since I started this blog, and I haven’t even posted anything yet this year. I certainly have been cooking, and I did make a half-assed attempt at writing posts the last couple months but never published them. I guess my enthusiasm was low – about blogging, not about life, the universe, and everything. That’s been good. Anyway, here’s a new curry that I enjoyed and I’ll follow it up with a related breakfast idea.
This is a creamy, spicy curry spiced with the following: oil, turmeric root, black mustard seed, cumin seed, garam masala, cinnamon, minced fresh ginger, garlic, salt (to taste, later in cooking); to prepare: mix spice ingredients in the oil and cook over medium heat until seeds start to pop. Ingredients include: red bell pepper (2, medium diced), serrano pepper (1, finely diced, seeds included if you like it hot; I also added 6 dried red bird peppers), red onion (1/2 large, cut into thin strips), cherry tomato (1/2 pound, whole), water (adding small amounts as necessary to keep ingredients from sticking/burning, perhaps 1- 1/2 cups), green peas (1 cup, e.g., from frozen), fresh baby spinach leaves (1 6 ounce bag), coconut cream (~1/3 can or 4-5 ounces, to desired thickness/taste).
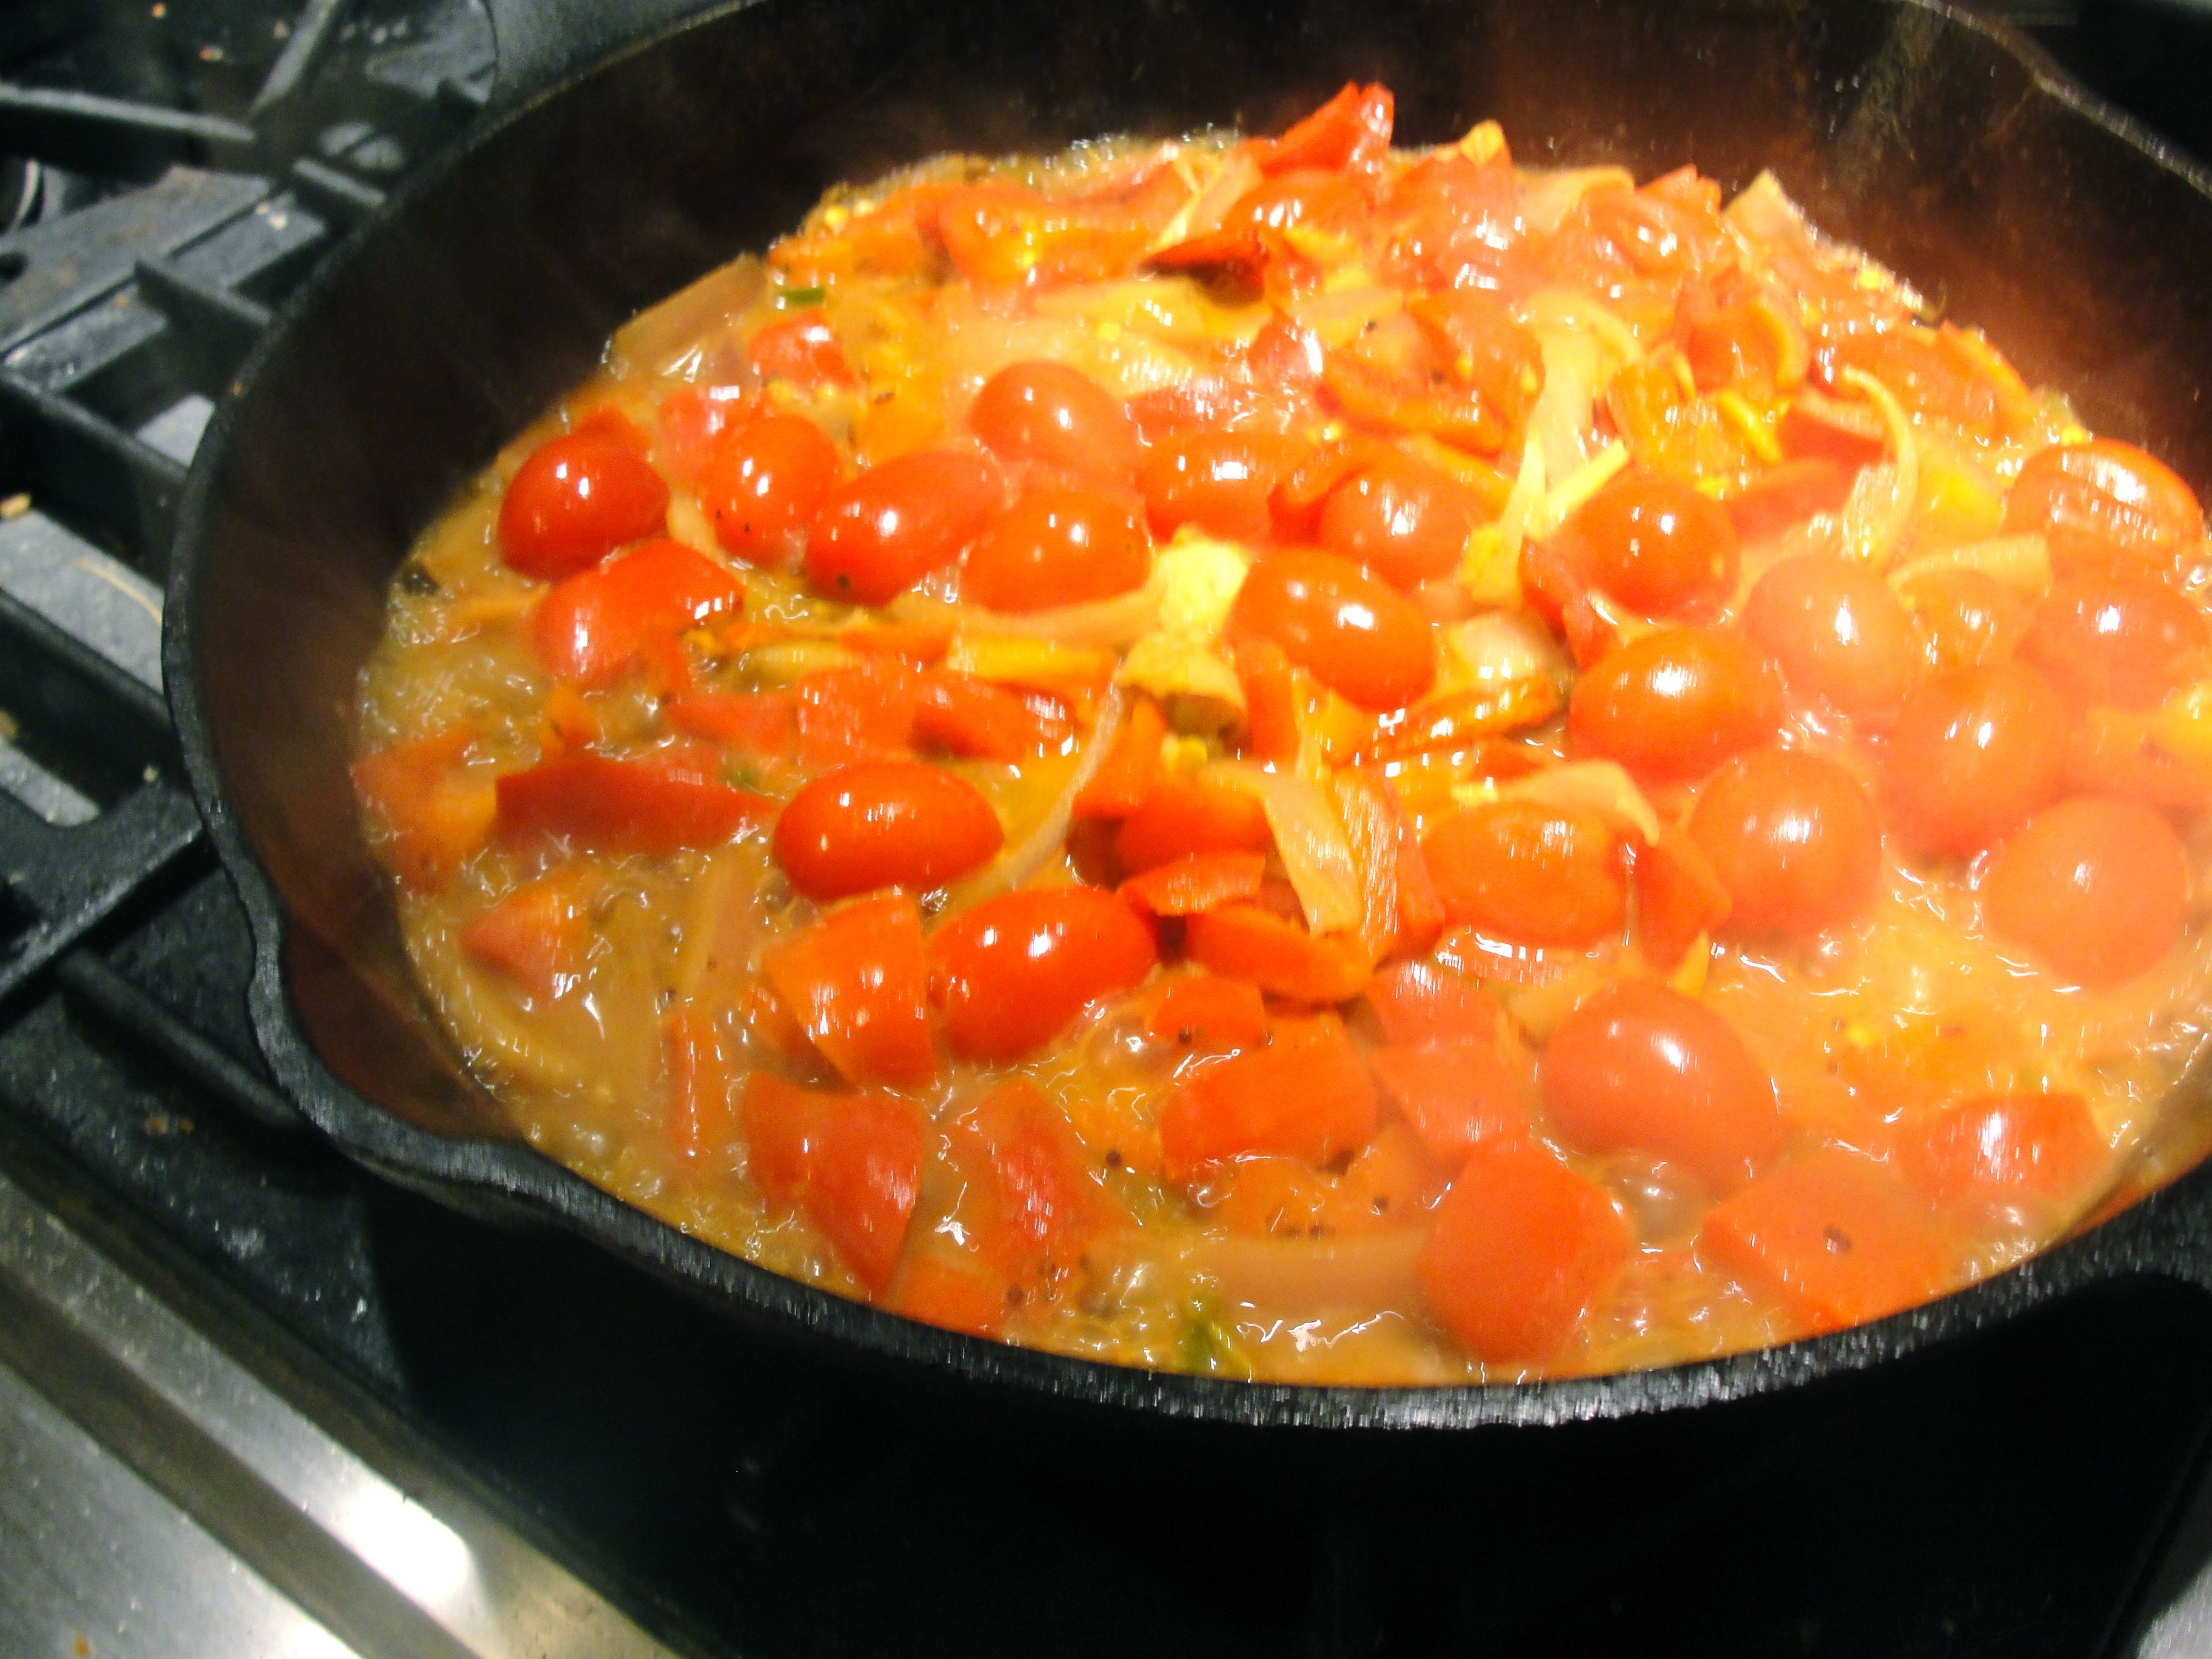
Cherry tomatoes cooking down for Tomato Coconut Curry.
Cook until tender and the tomatoes can be easily mashed.
Add the peas when the curry is nearly done, so as not to overcook them, and add salt to taste.

Adding peas (frozen) to Tomato Coconut Curry.
Stir in the coconut cream and fresh spinach leaves last.
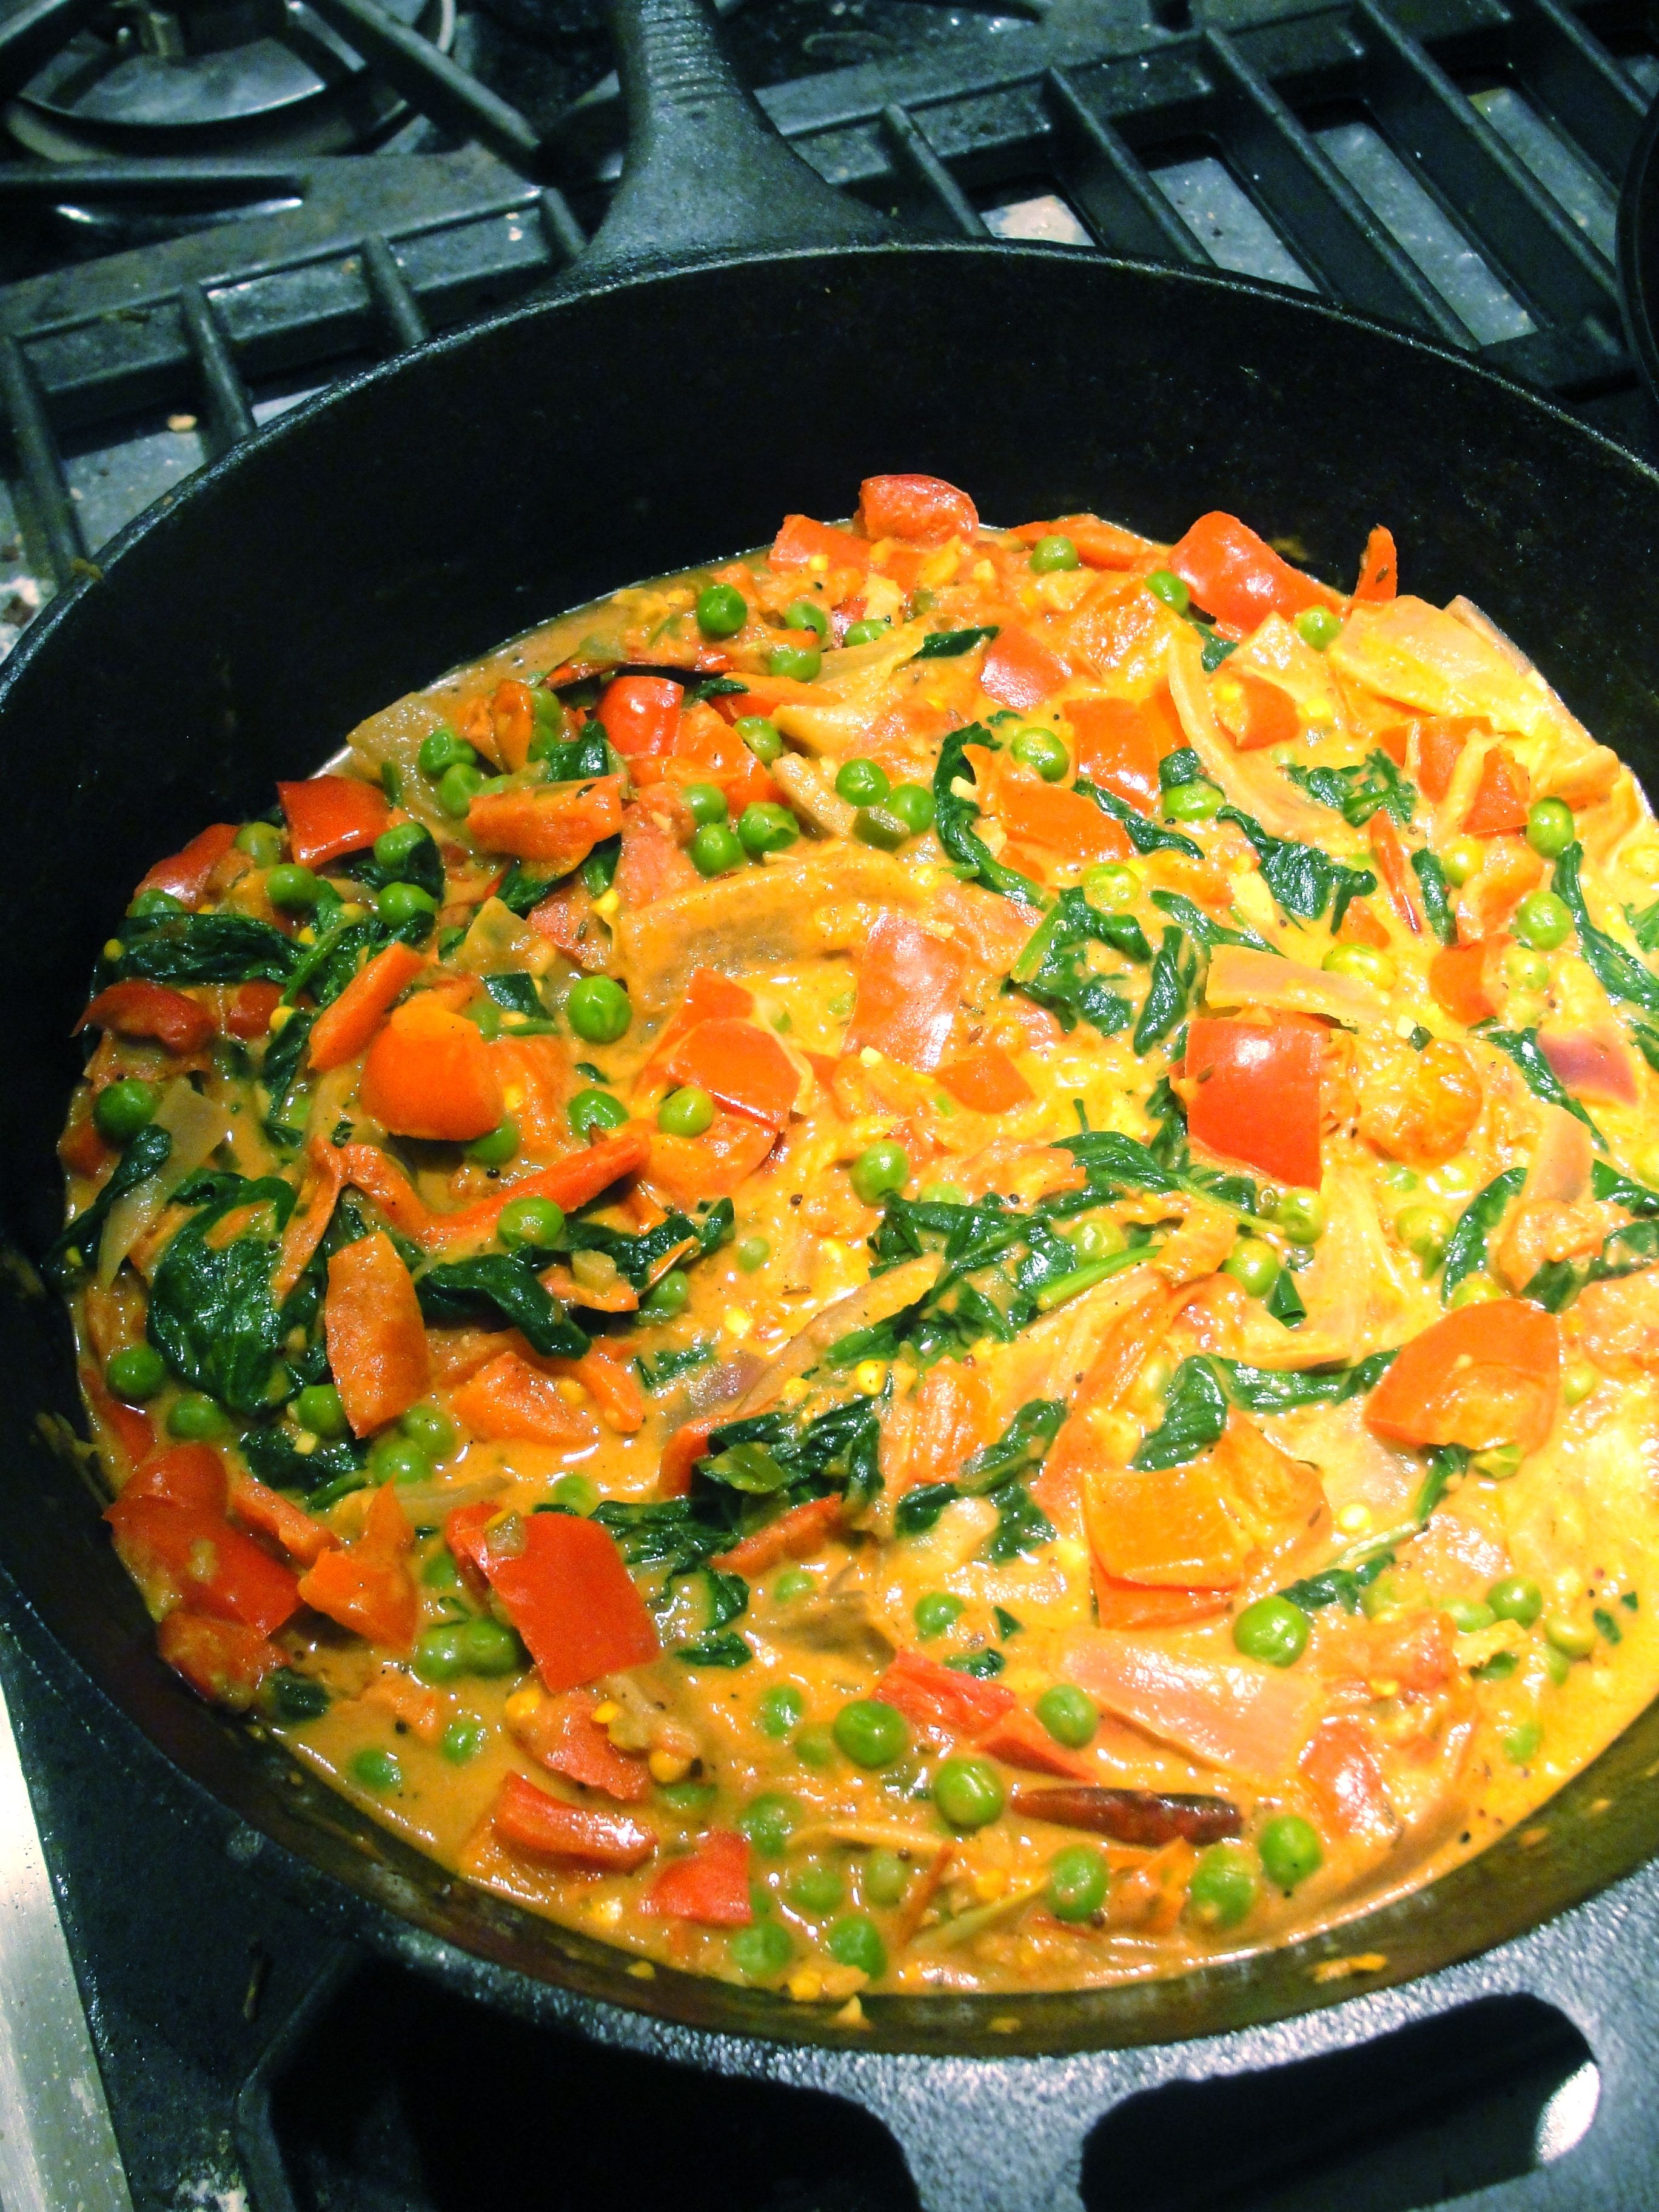
Tomato Coconut Curry finished with coconut cream and fresh spinach leaves.
While this was being prepared, I cooked brown basmati rice in a rice cooker (cheating… soaked first in water, since this doesn’t cook as quickly as, say, chinese sticky rice), and served the two together for a delicious dinner.

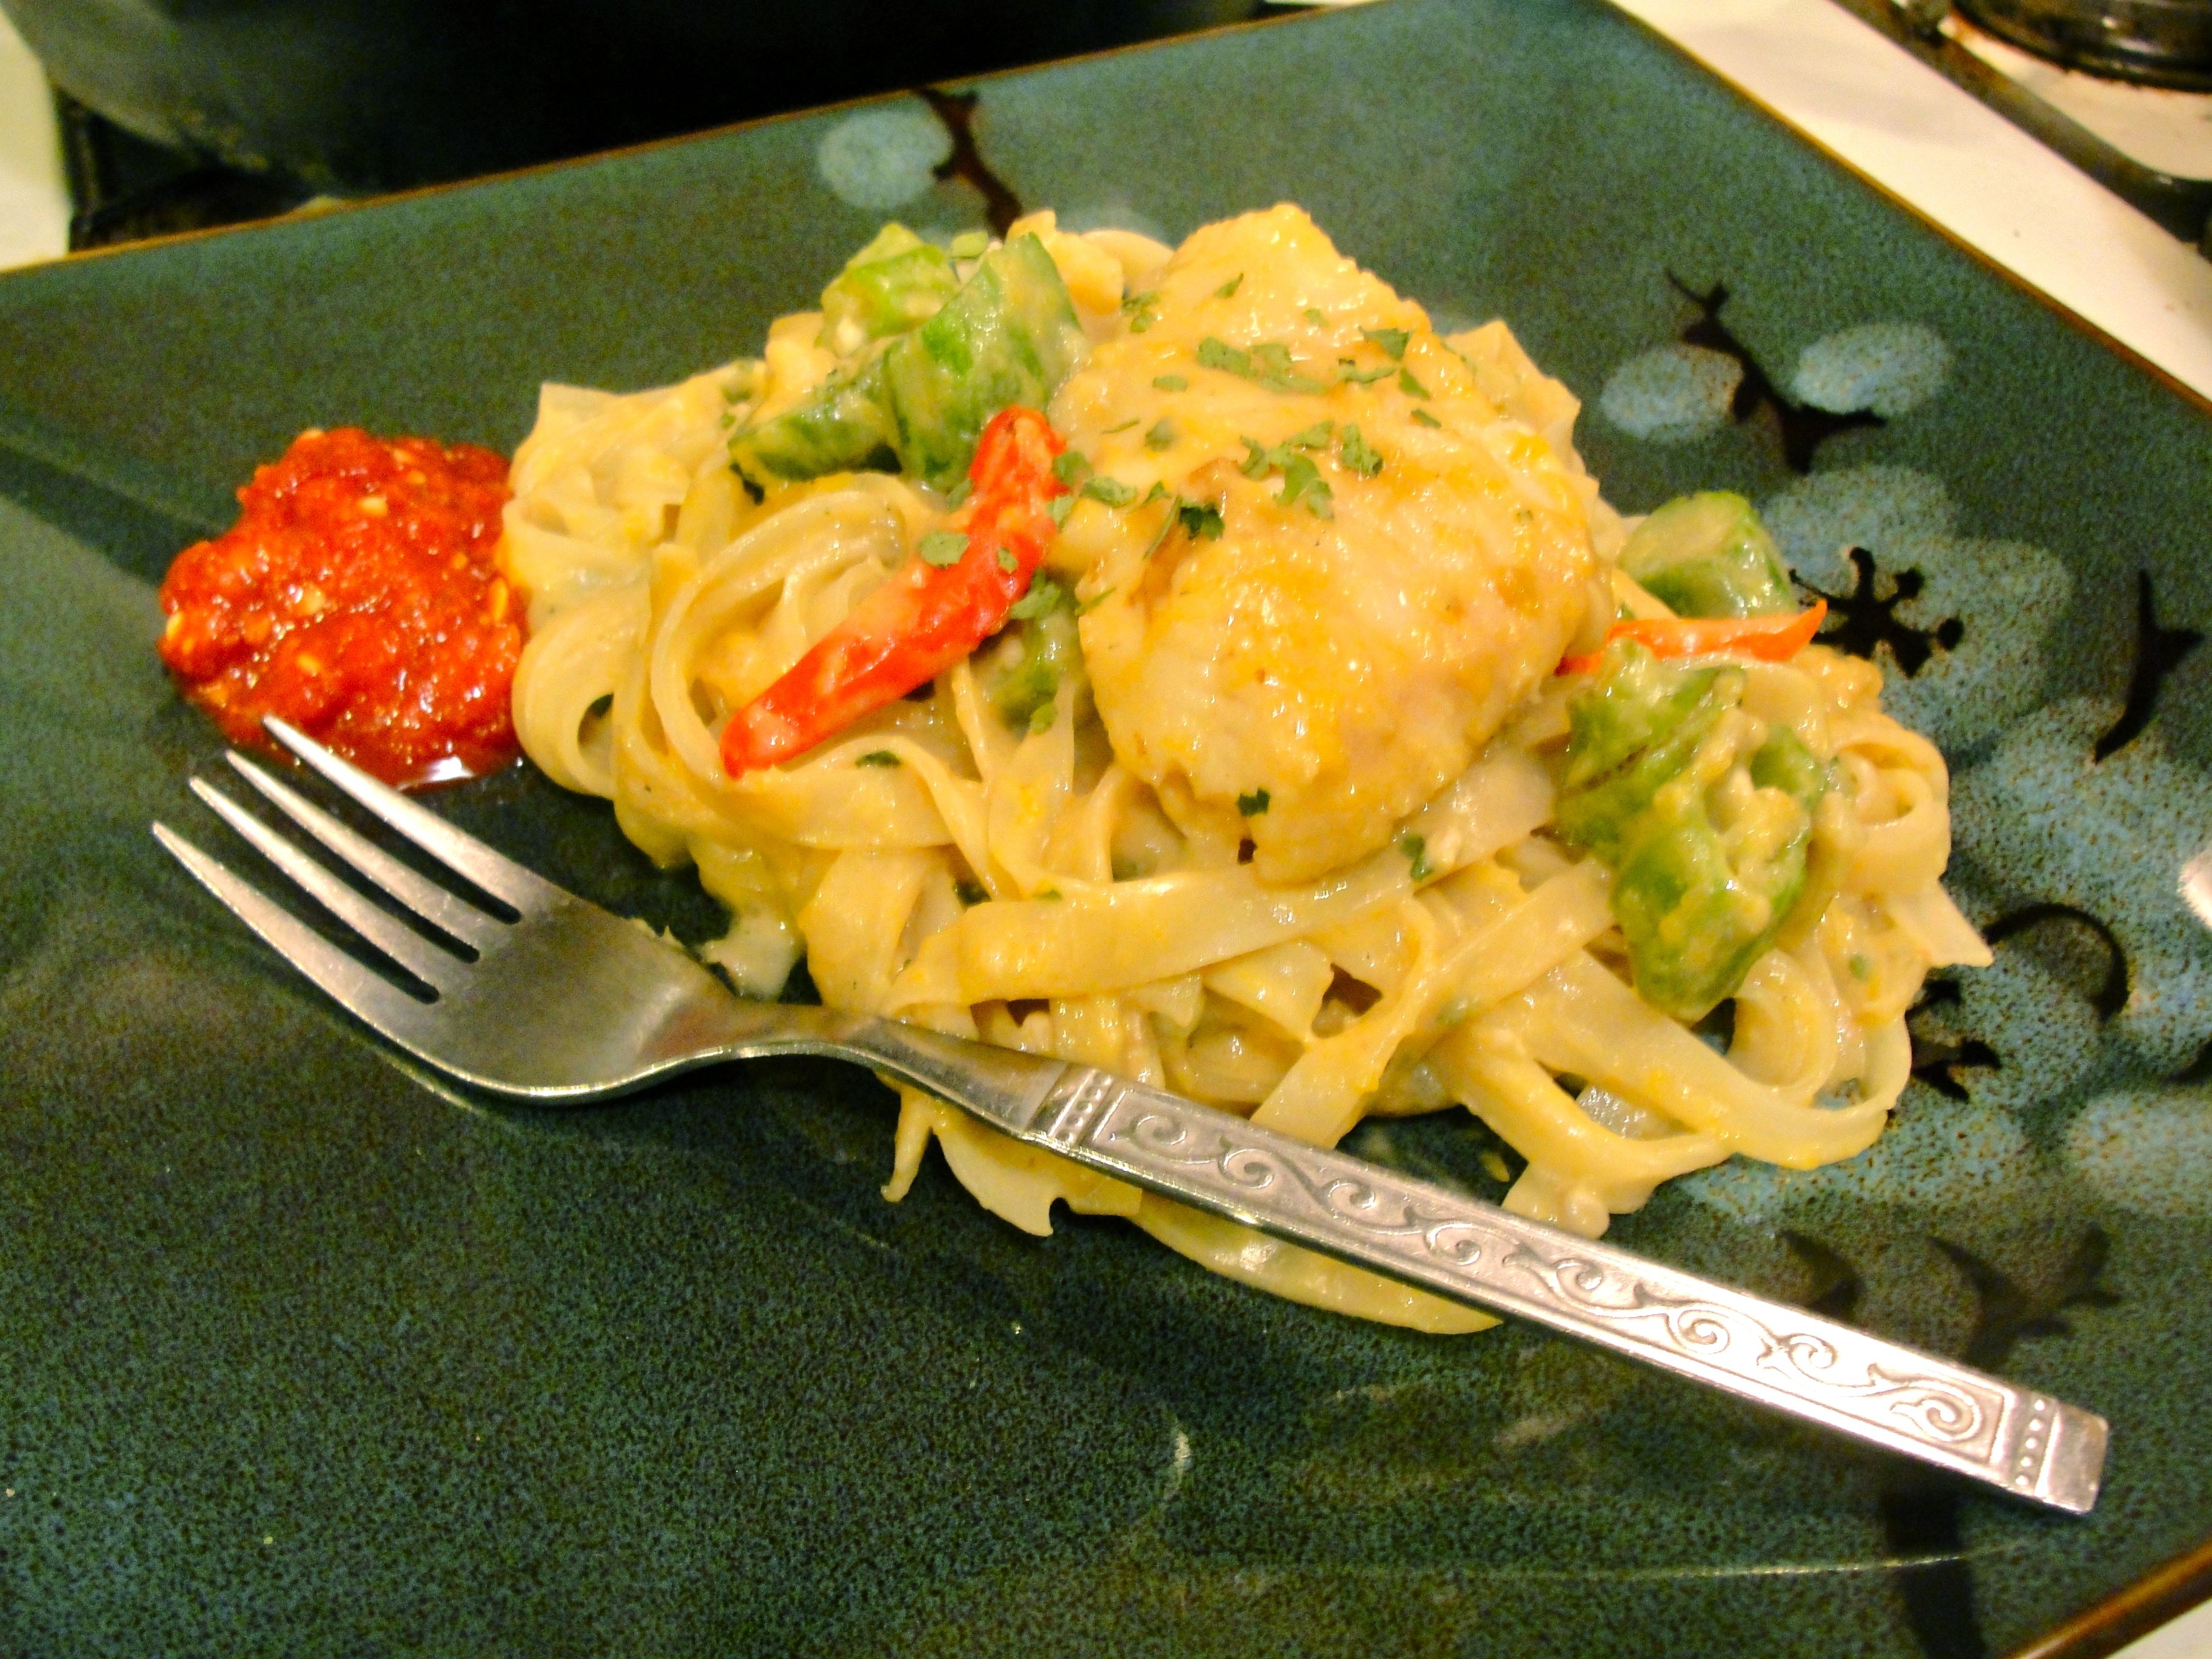
Tomato Coconut Curry served with brown basmati rice.
I didn’t base this on any specific recipe – it was born of what I had on hand, but if you’d like a more precise recipe, here are two that are somewhat similar:
This is a great curry that is both and gluten-free and vegan. I hope you enjoy it!