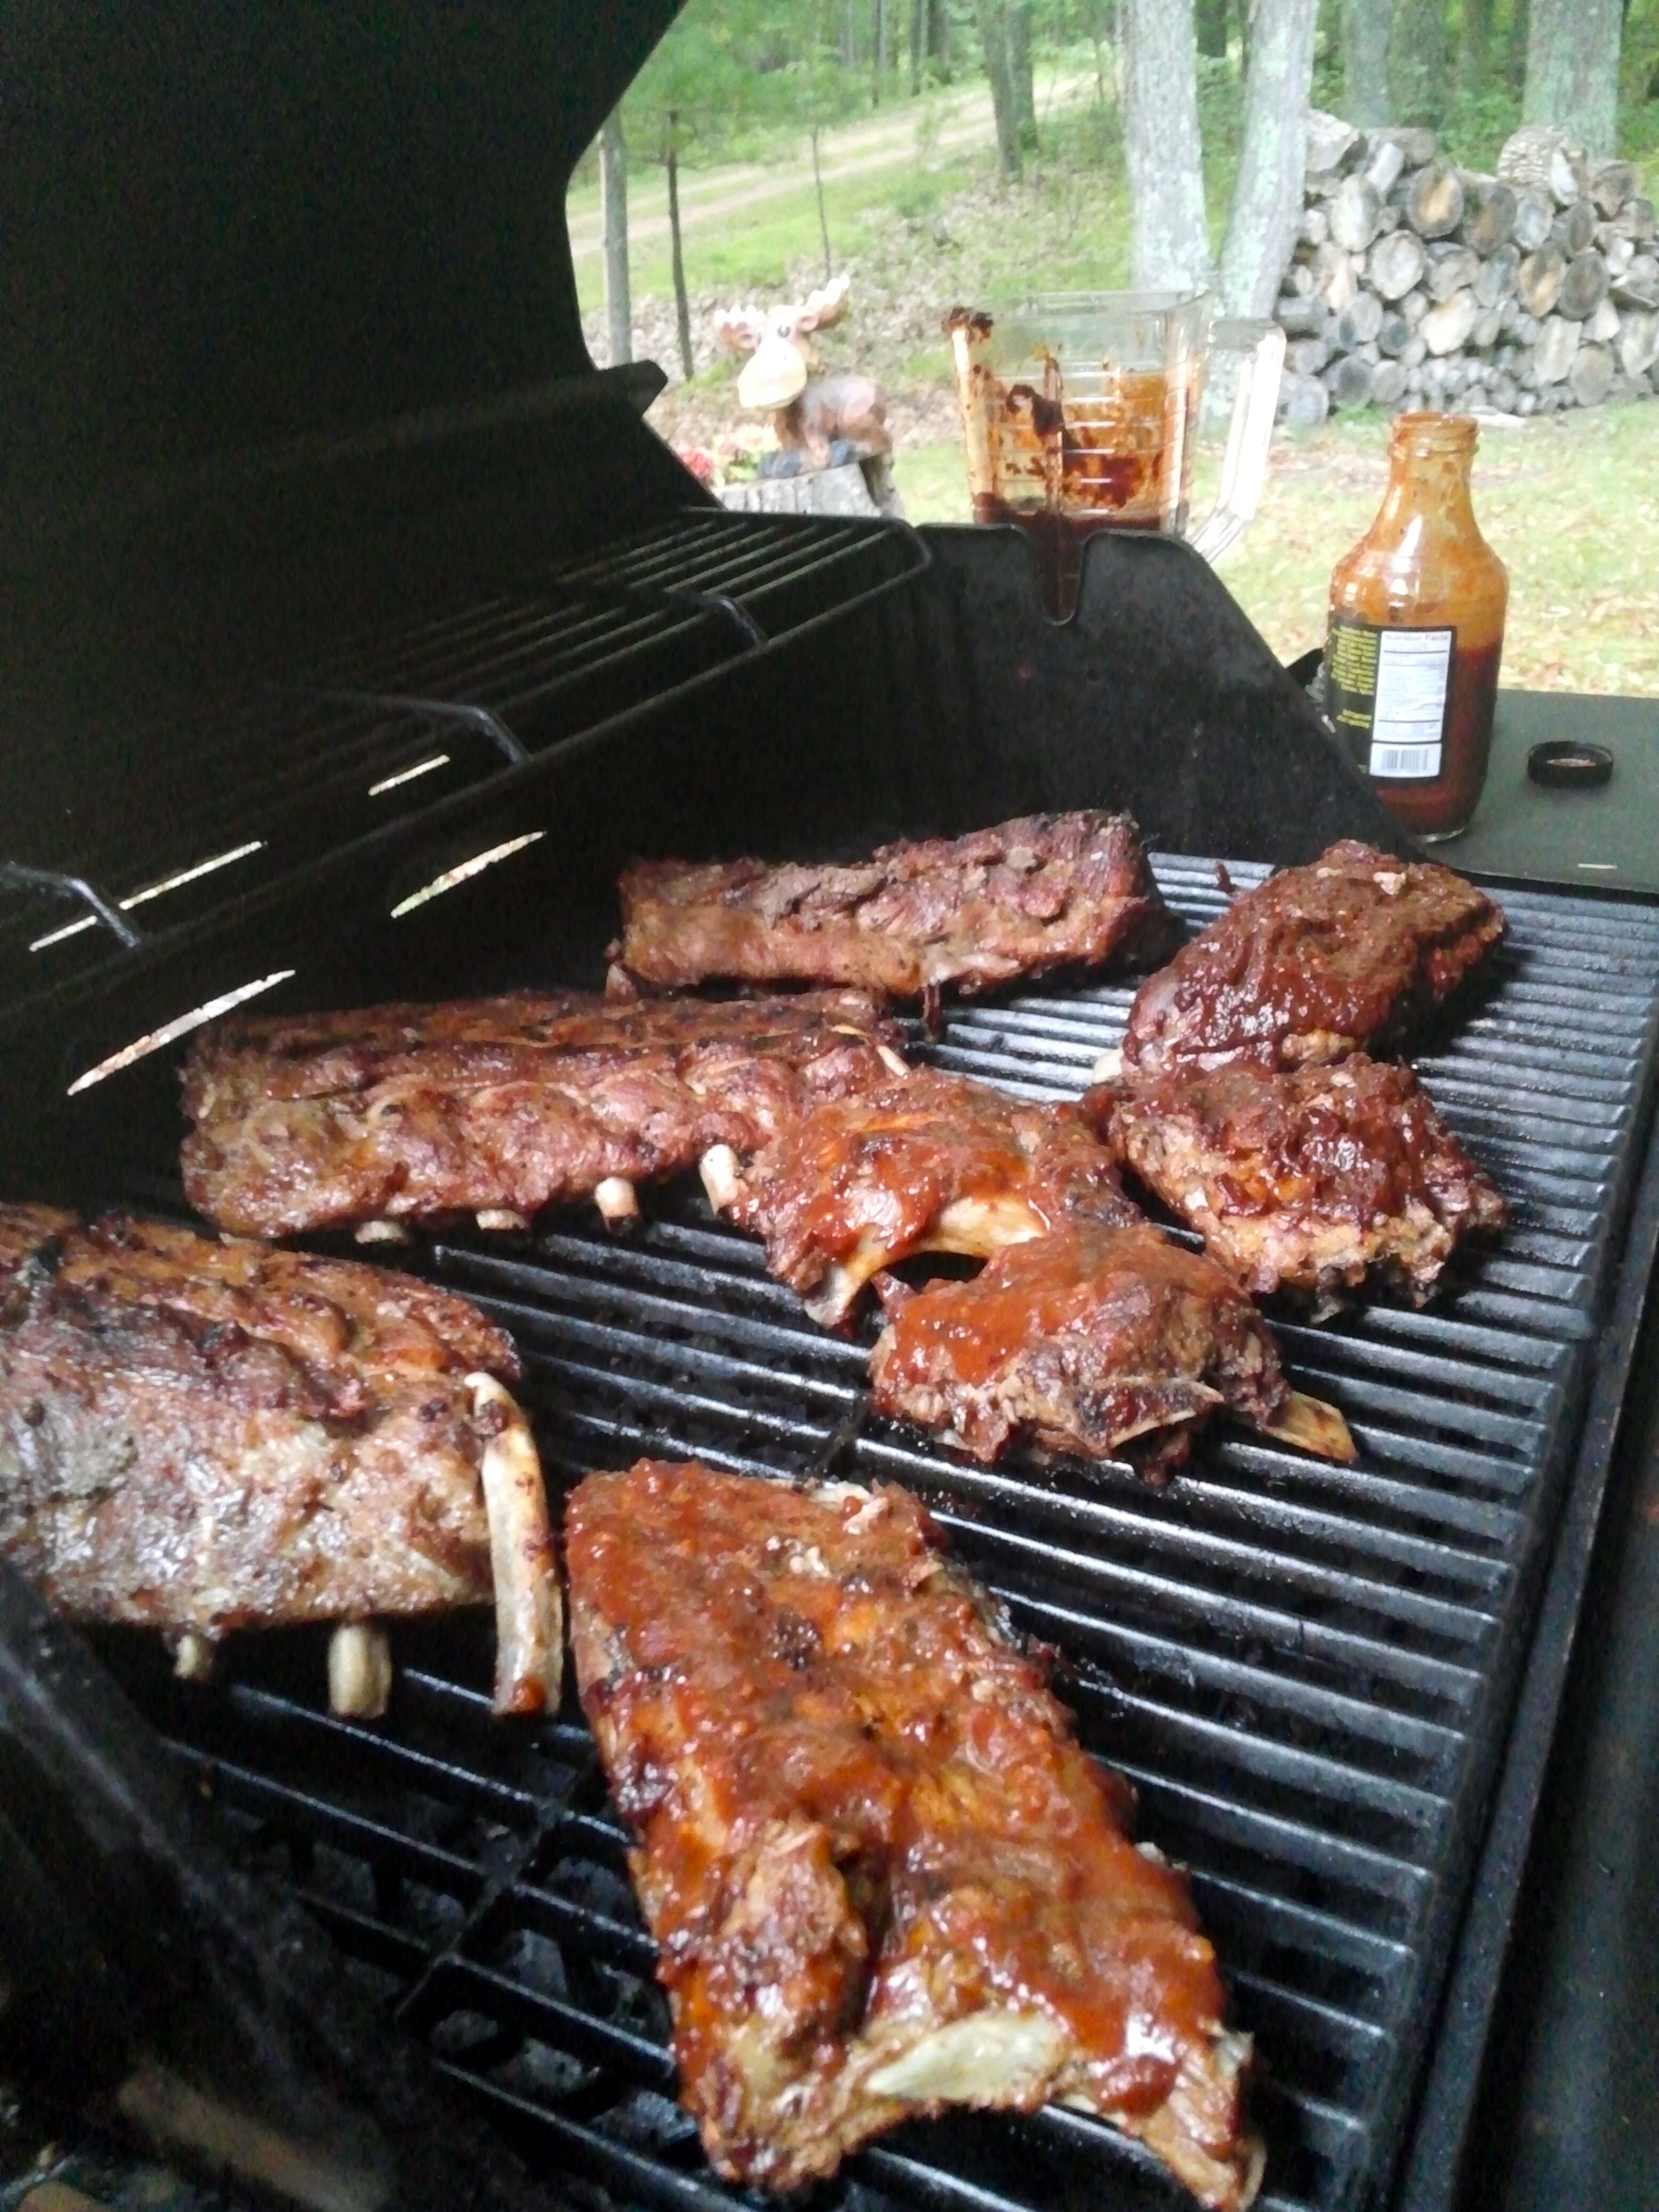
Finishing the ribs on the gas grill: saucy!
Wow, I’ve been away from my blog for a couple months – but I have a good reason! I was finishing my Ph.D., moving 1000 miles from the midwest to the east coast, and starting a new job… but, I didn’t stop eating. :)
Here’s a meal from a month or two ago, in the northwoods with my family: barbecue baby back ribs.
Obviously there are a zillion other recipes and recommendations for how to do these, so I’ll just add my 2 cents worth about how I did them.
I started by cooking the thawed ribs in a couple pints of a nice brewery-fresh scotch ale, in a roasting pan. Overall this was at 250-300° F for 3 to 3 1/2 hours. I progressively raised the temperature to try to hit the desired dinner time.

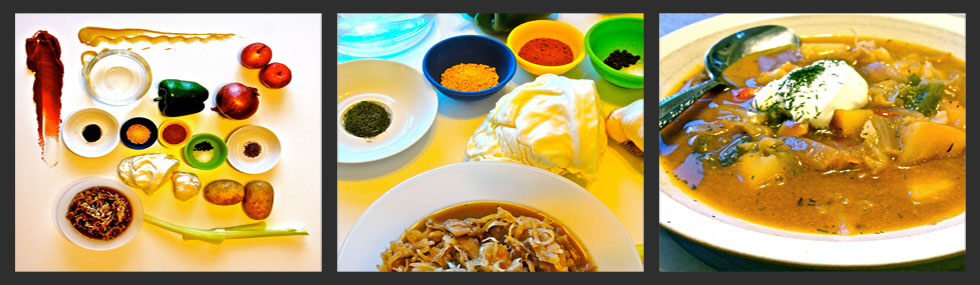
Preparing the ribs for pre-cooking, with a pint or two from a growler of scotch ale.
Meanwhile, I prepared a blended, sugar-free, somewhat spicy barbecue sauce from dried ancho and chipotle peppers, fresh lime juice, pan-roasted garlic cloves, mexican oregano, water from rehydrating the peppers, a bit of olive oil and a touch of salt.

Preparing a sugar-free chipotle and ancho chili BBQ sauce.
During the pre-cooking phase, I occasionally turned and basted the ribs with some water from rehydrating the peppers.

Pre-cooking the ribs in a covered roasting pan with a nice scotch ale and water from rehydrating the dried peppers.
Once cooked, I finished the ribs on the gas grill.
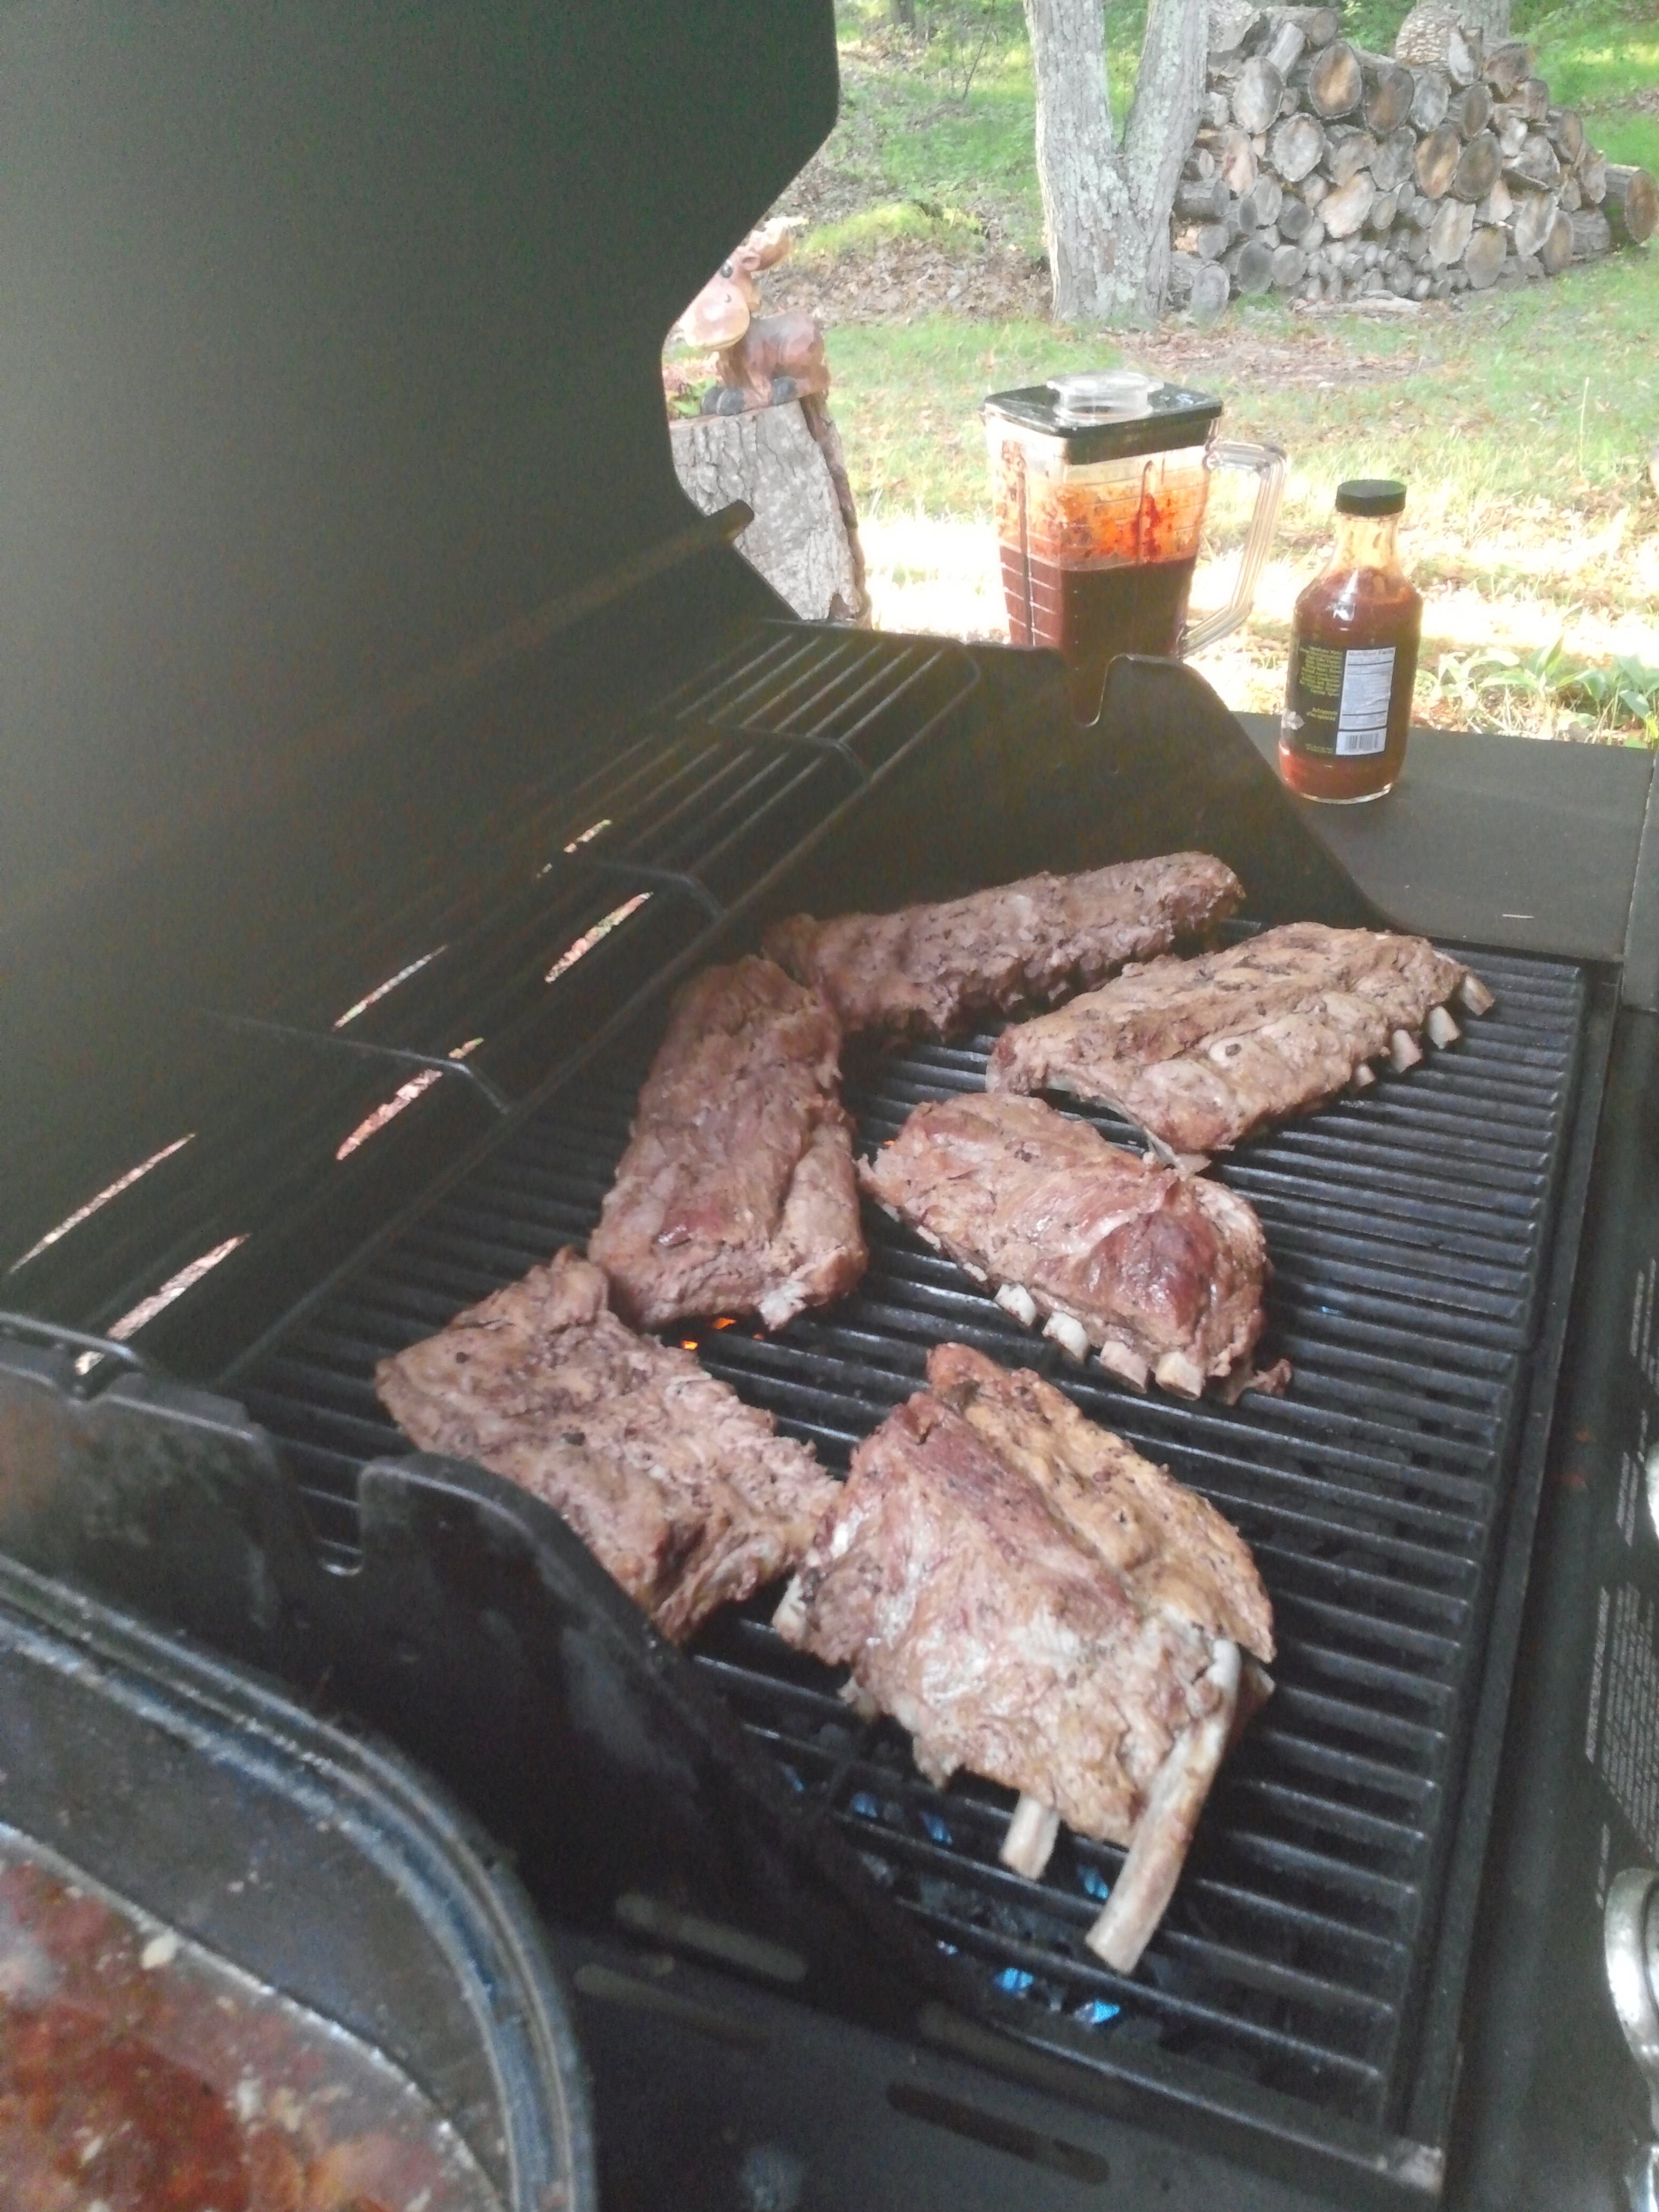
Finishing the ribs on the gas grill.
And toward the end of cooking, slathered the ribs with a couple of barbecue sauces: mine and a store-bought sauce, that was my brother’s pick. As you might know, usually you are warned not to put the sauce on too early because the sugar will burn…. that’s not an issue with my sauce.

A family dinner with BBQ ribs out on the porch at around sunset.
Overall, these turned out tender and great. I’m definitely a fan of barbecue sauces without sugar… it’s often just not necessary to have BBQ taste great!


