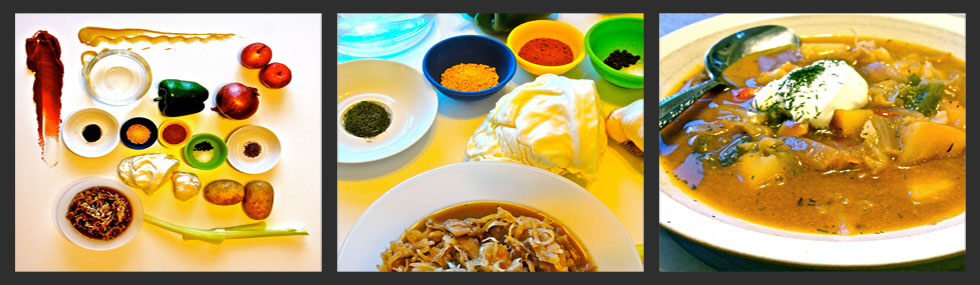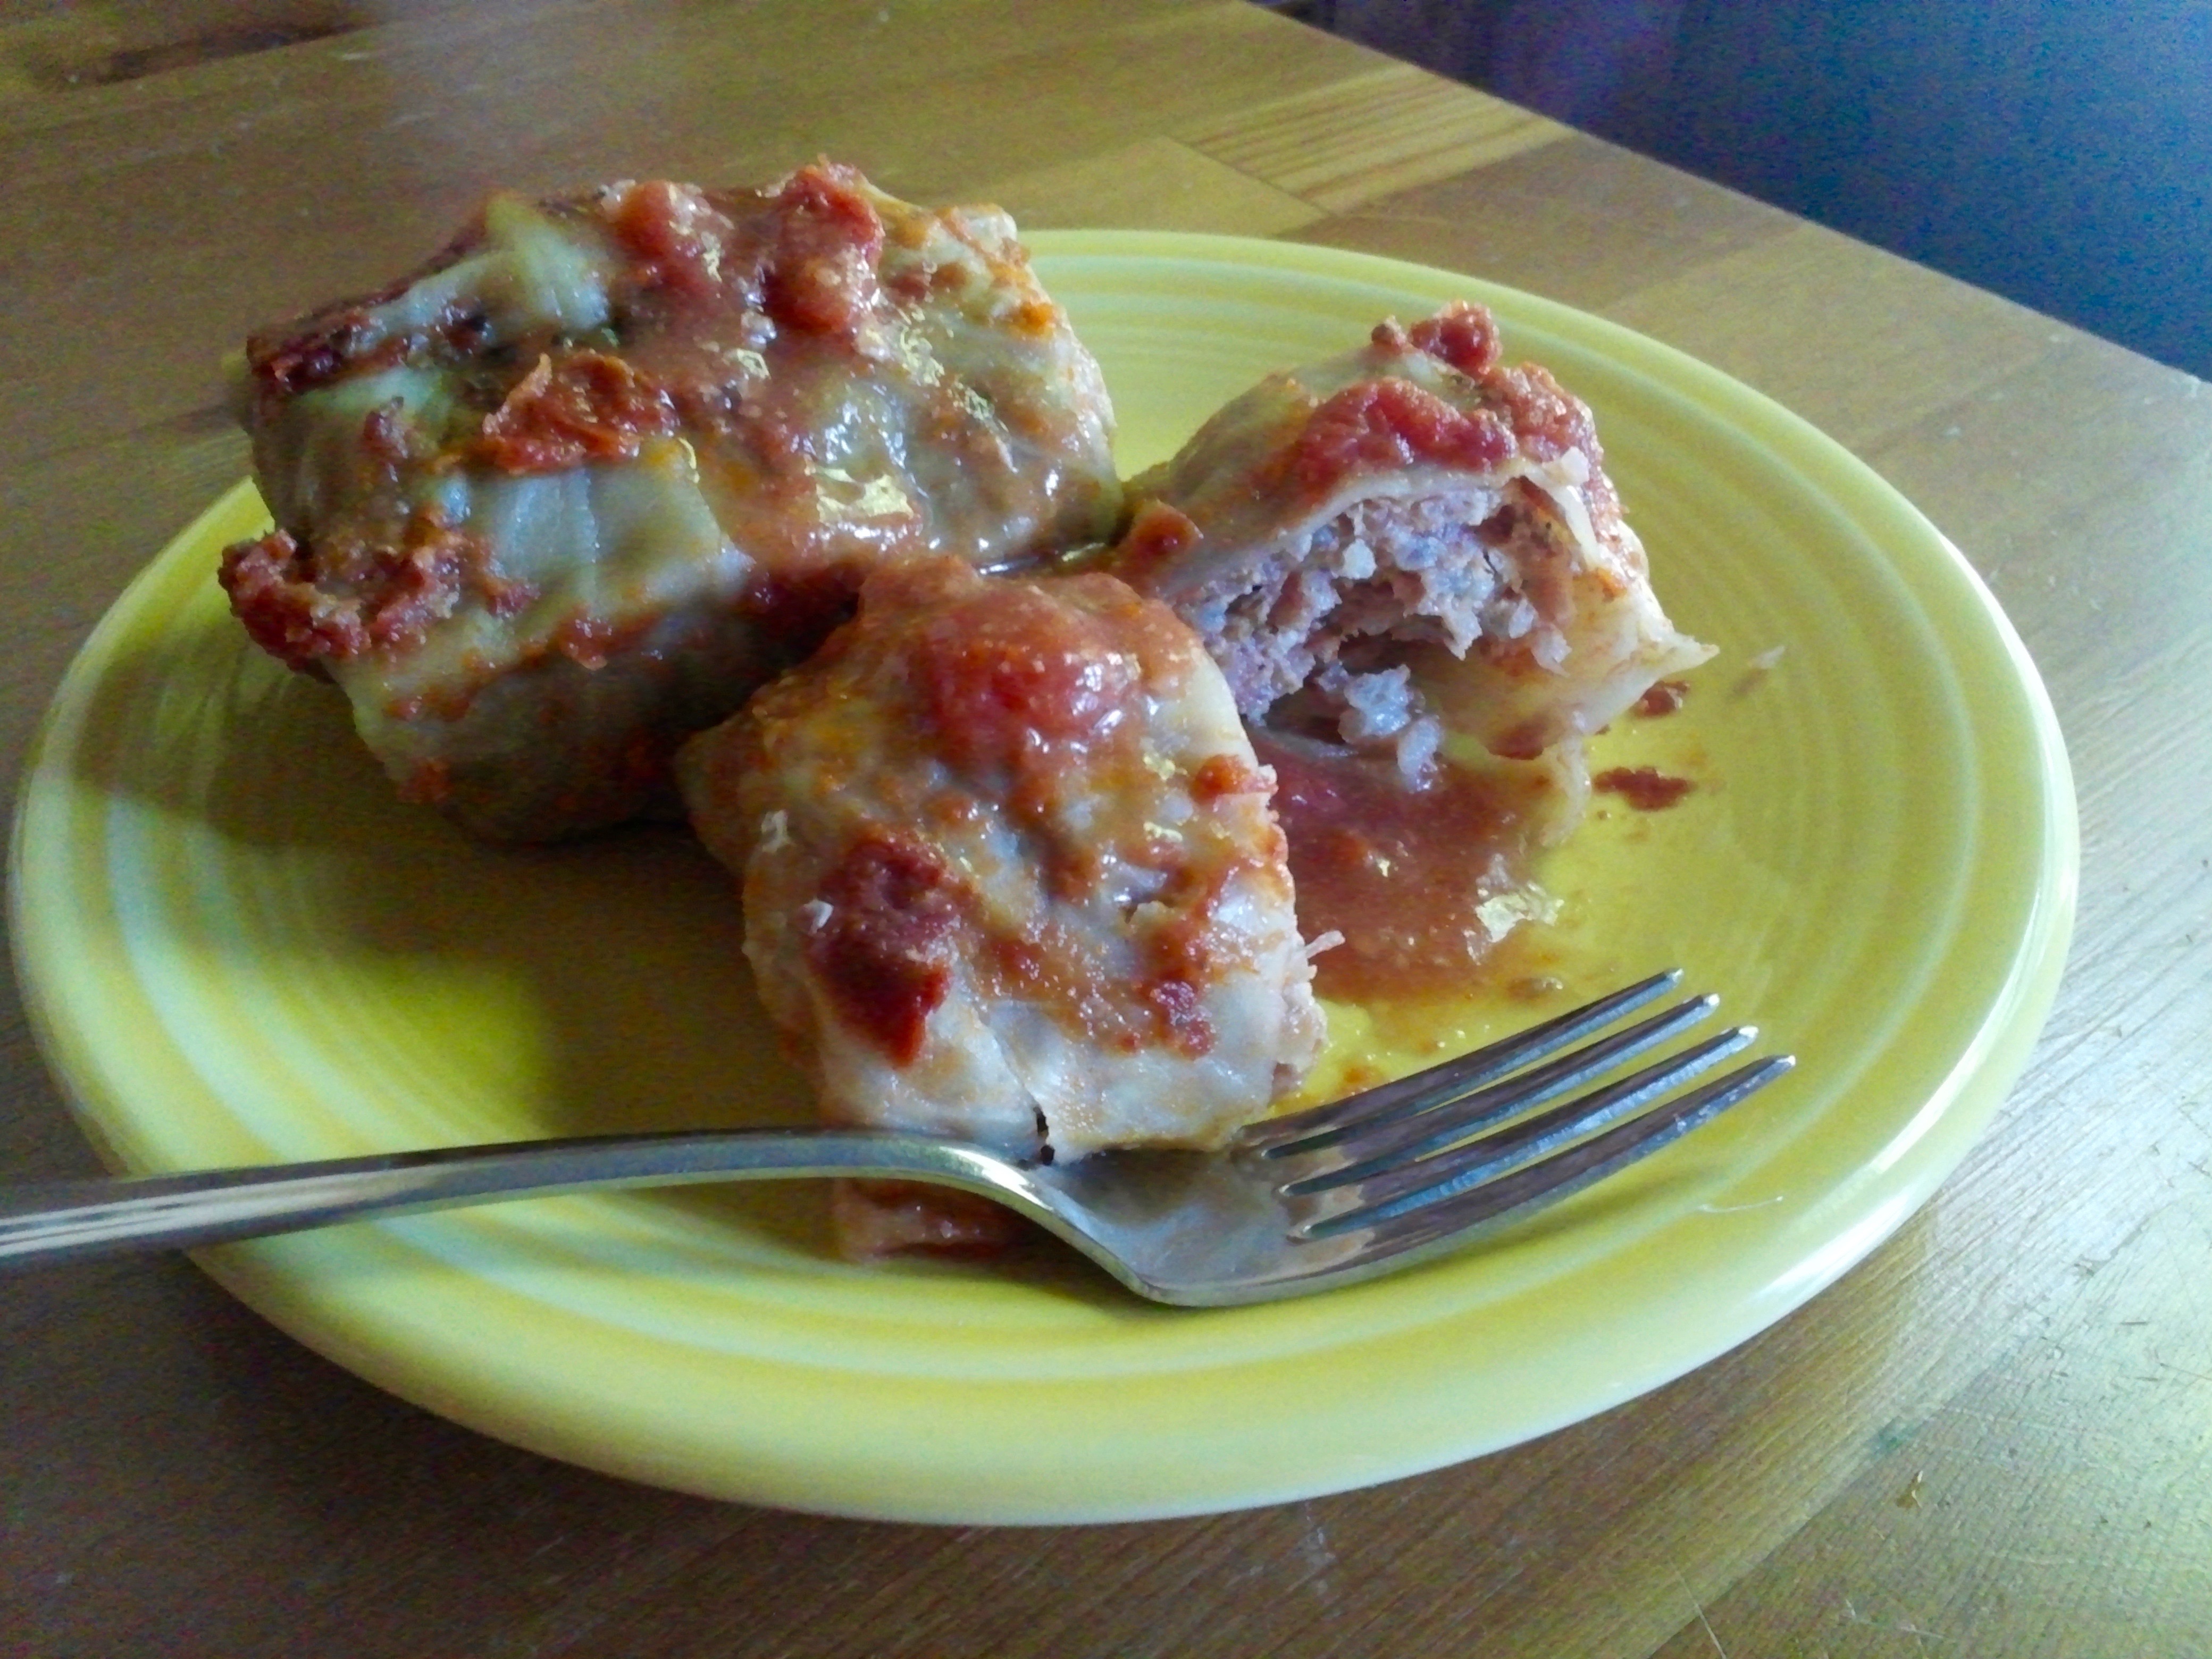
Gołąbki with tomatoes and sauce.
Gołąbki are Polish cabbage rolls. I’m of Polish heritage, on my father’s side, and have enjoyed this very common, traditional dish, but hadn’t previously tackled preparation myself. As it turns out, it can be done in about 2 hours preparation time, and 2 hours cooking time. “Gołąbki” is the plural Polish word for pigeon, and is a apparently based on the resulting size of the rolls. To an English speaker, it is pronounced like one would say “gawumpki.”
The occasion that caused me to make gołąbki was that we have a Polish graduate student visiting for a summer internship at my work, and I thought he might like some taste of home… given that our Polish-named staples here in the U.S., such as Polish pickles or Polish sausage, are nothing like he knows from home. It also helped put a good dent in our CSA share of vegetables in that it uses a head of cabbage and my, unusual, vegetarian version also used a fennel bulb.
There are many preparation techniques for gołąbki, some involving pan frying and then boiling or steaming them. I chose to use this recipe as the basis for my gołąbki, which simply has you to bake them, covered, in a 350° F oven for 2 hours.
The filling for the meat-based gołąbki was a combination of the following:
- 1 cabbage, medium
- about 2 pounds raw ground pork sausage (I used Italian sausage, or what we call Italian sausage in the states)
- 2 cups cooked rice, with some butter added during cooking, cooled
- 2 eggs, beaten
- garlic cloves, minced, sautéed in butter
- 1 large onion, diced, sautéed in butter
- butter
- marjoram
- salt
- pepper
- 1 large can diced tomatoes
- 1 can tomato sauce
For the vegetarian gołąbki I used the above except substituted the following for the ground meat:
- chopped fennel bulb, sautéed until tender
- chopped mushroom, lightly sautéed
For the fillings, mix the above (except for butter, tomatoes and tomato sauce), in a large bowl similar to the way one makes meatballs; cover and refrigerate until ready to fill and roll the cabbage leaves.
To prepare the cabbage leaves, I followed the method show in this video. That is, I brought a large pot of water to very low boil, enough water so that the whole cabbage head could just be submerged. Then removed the core of the cabbage leaves, and boiled it slowly, carefully removing the leaves one by one with tongs and cooled them on a cutting board. It’s important to remove the core complete so that the leaves can separate as they soften and loosen while boiling.
Once the leaves were prepared, cutting out some of the cabbage leaves’ “stem” if it’s too difficult to roll, I filled them with an amount of filling proportional to the size of the leaf (from 1 Tablespoon to 2 or more), and rolled them by folding the sides first, and rolling them, typically with the more substantial base of the leaf toward the outside of the roll. After rolling, I packed them fairly tightly in a baking dish. (Use a separate baking dish for the meat and vegetarian gołąbki if you make both.)
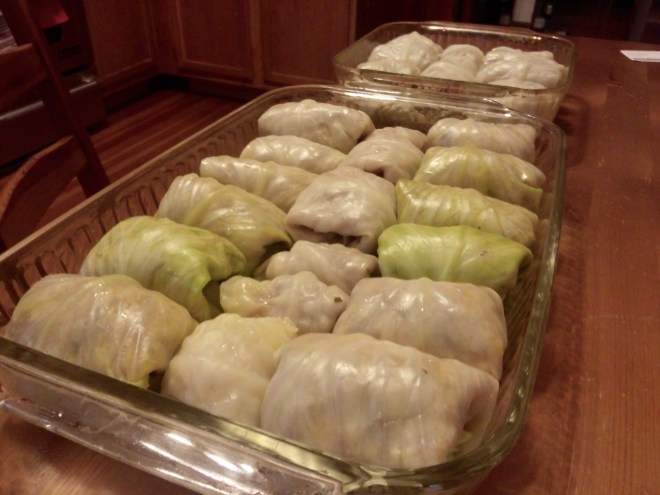
Gołąbki before cooking.
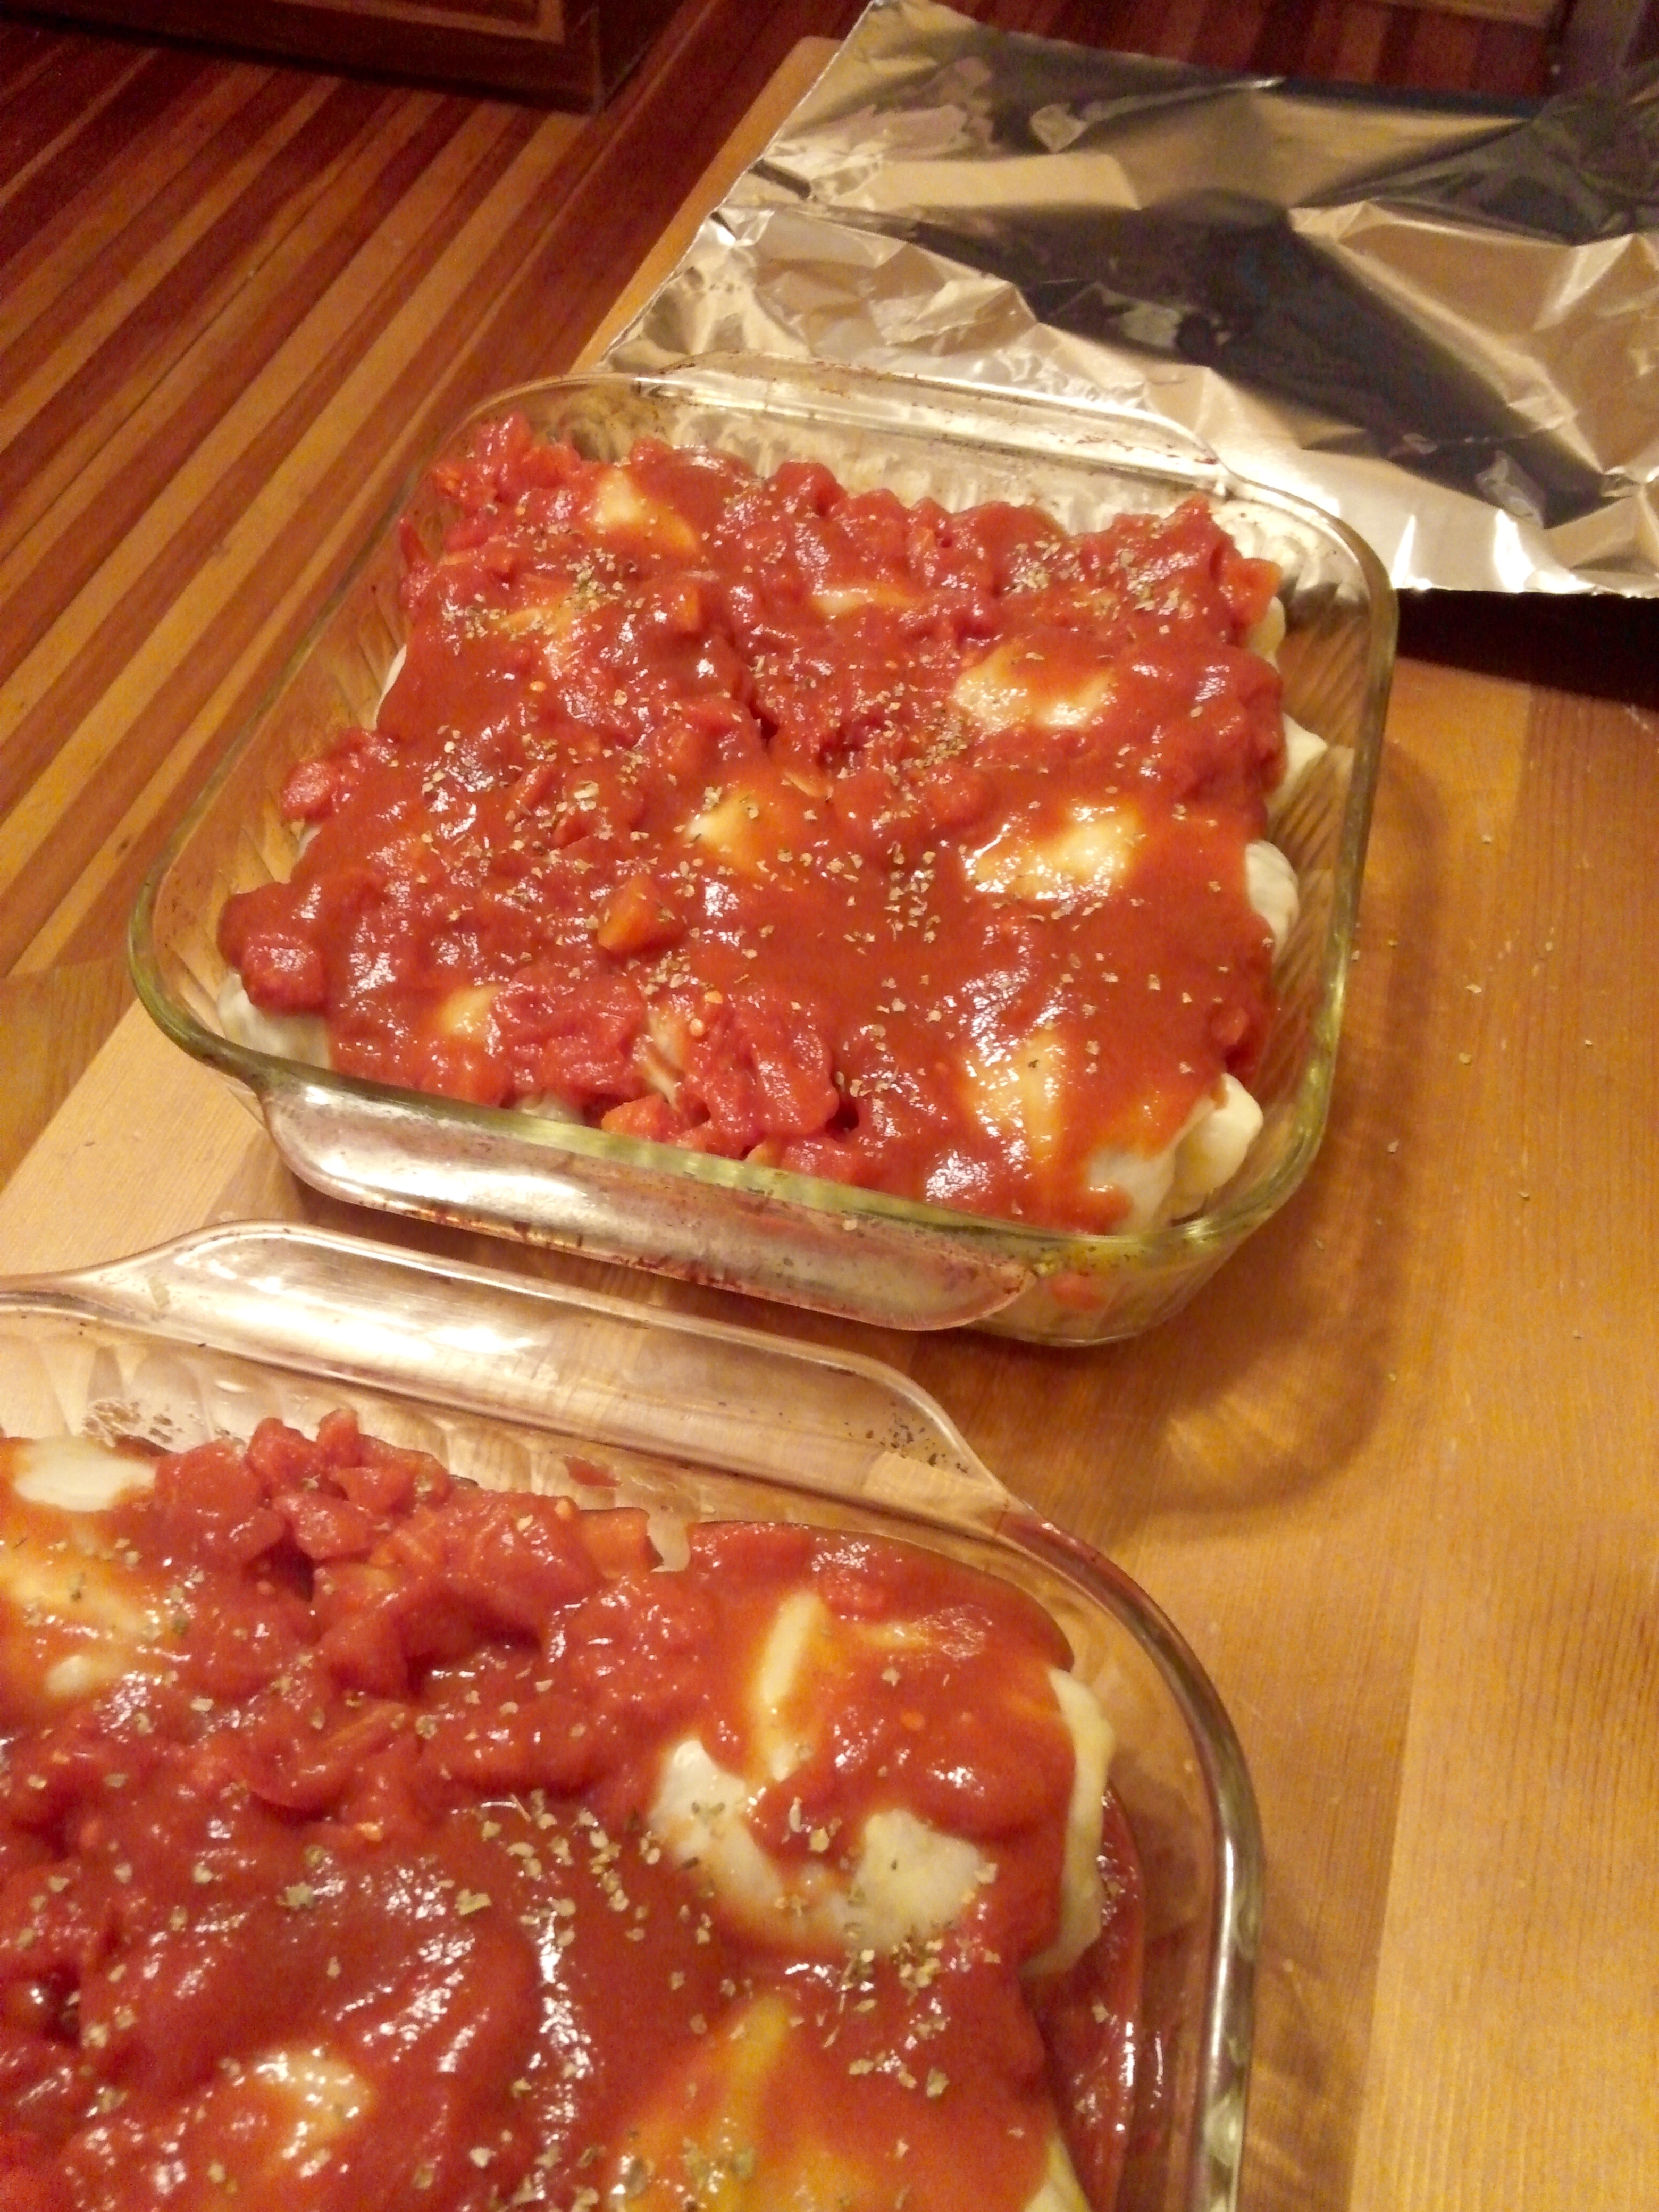
Once the baking dishes are filled, pour the diced tomato and tomato sauce over the top, spreading evenly, and sprinkle again with marjoram. Cover the dishes tightly with aluminum foil and bake in a 350° F oven for 2 hours.
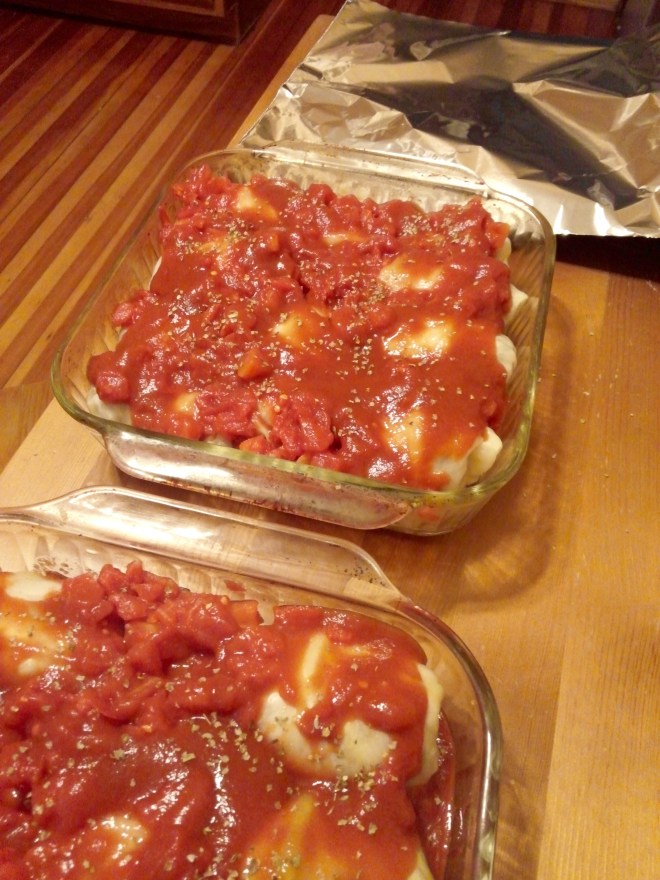
Gołąbki, ready to be covered and baked.
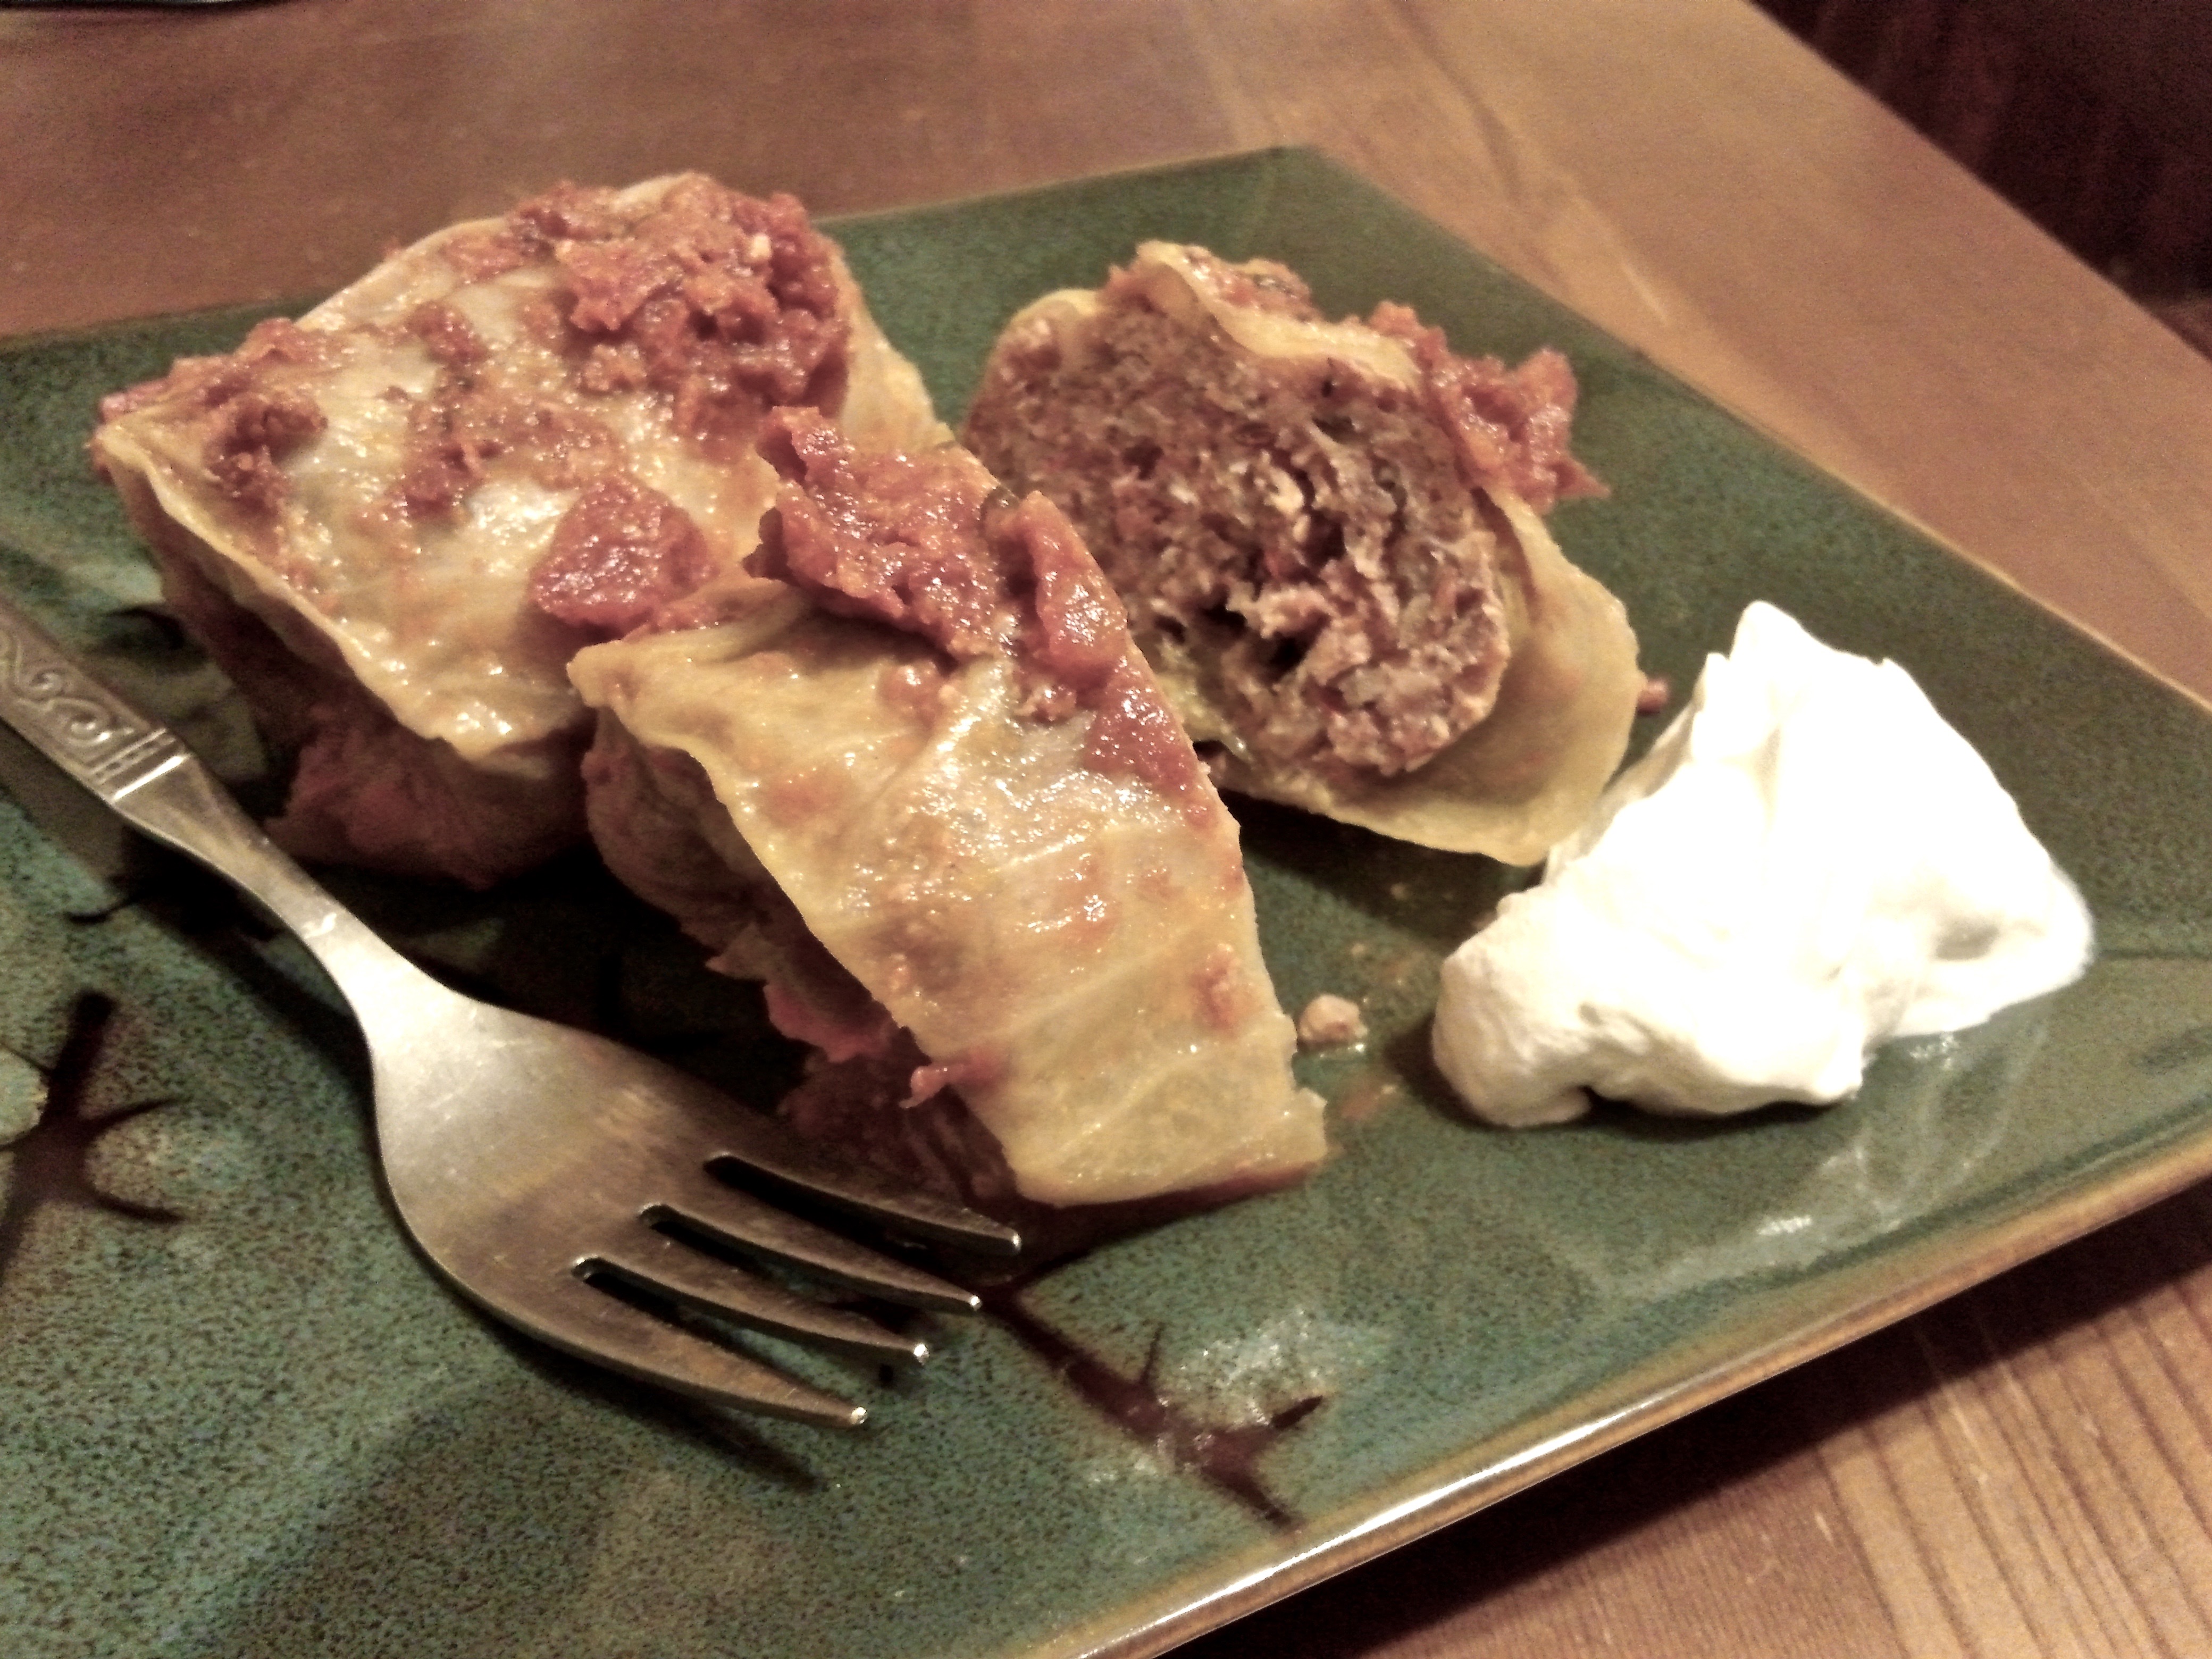
Once cooked, let the gołąbki sit and cool a bit and serve them, accompanied by a dollop of sour cream if you like.

Gołąbki with tomato sauce, served with sour cream.
I really enjoyed making and eating these.These are also nice left-over, even frozen and reheated as necessary; this is a good thing, since it’s best to make quite a large batch given the work. My Polish student friend liked them, but rated them as spicier than his grandmother’s version. (That was by design, in that I used a medium spicy Italian sausage rather than the typical blander combination of ground pork and beef that most gołąbki recipes call for.) He also noted that they leave the tomato sauce to be added only after cooking.
Here are some related recipes and a video I referenced: