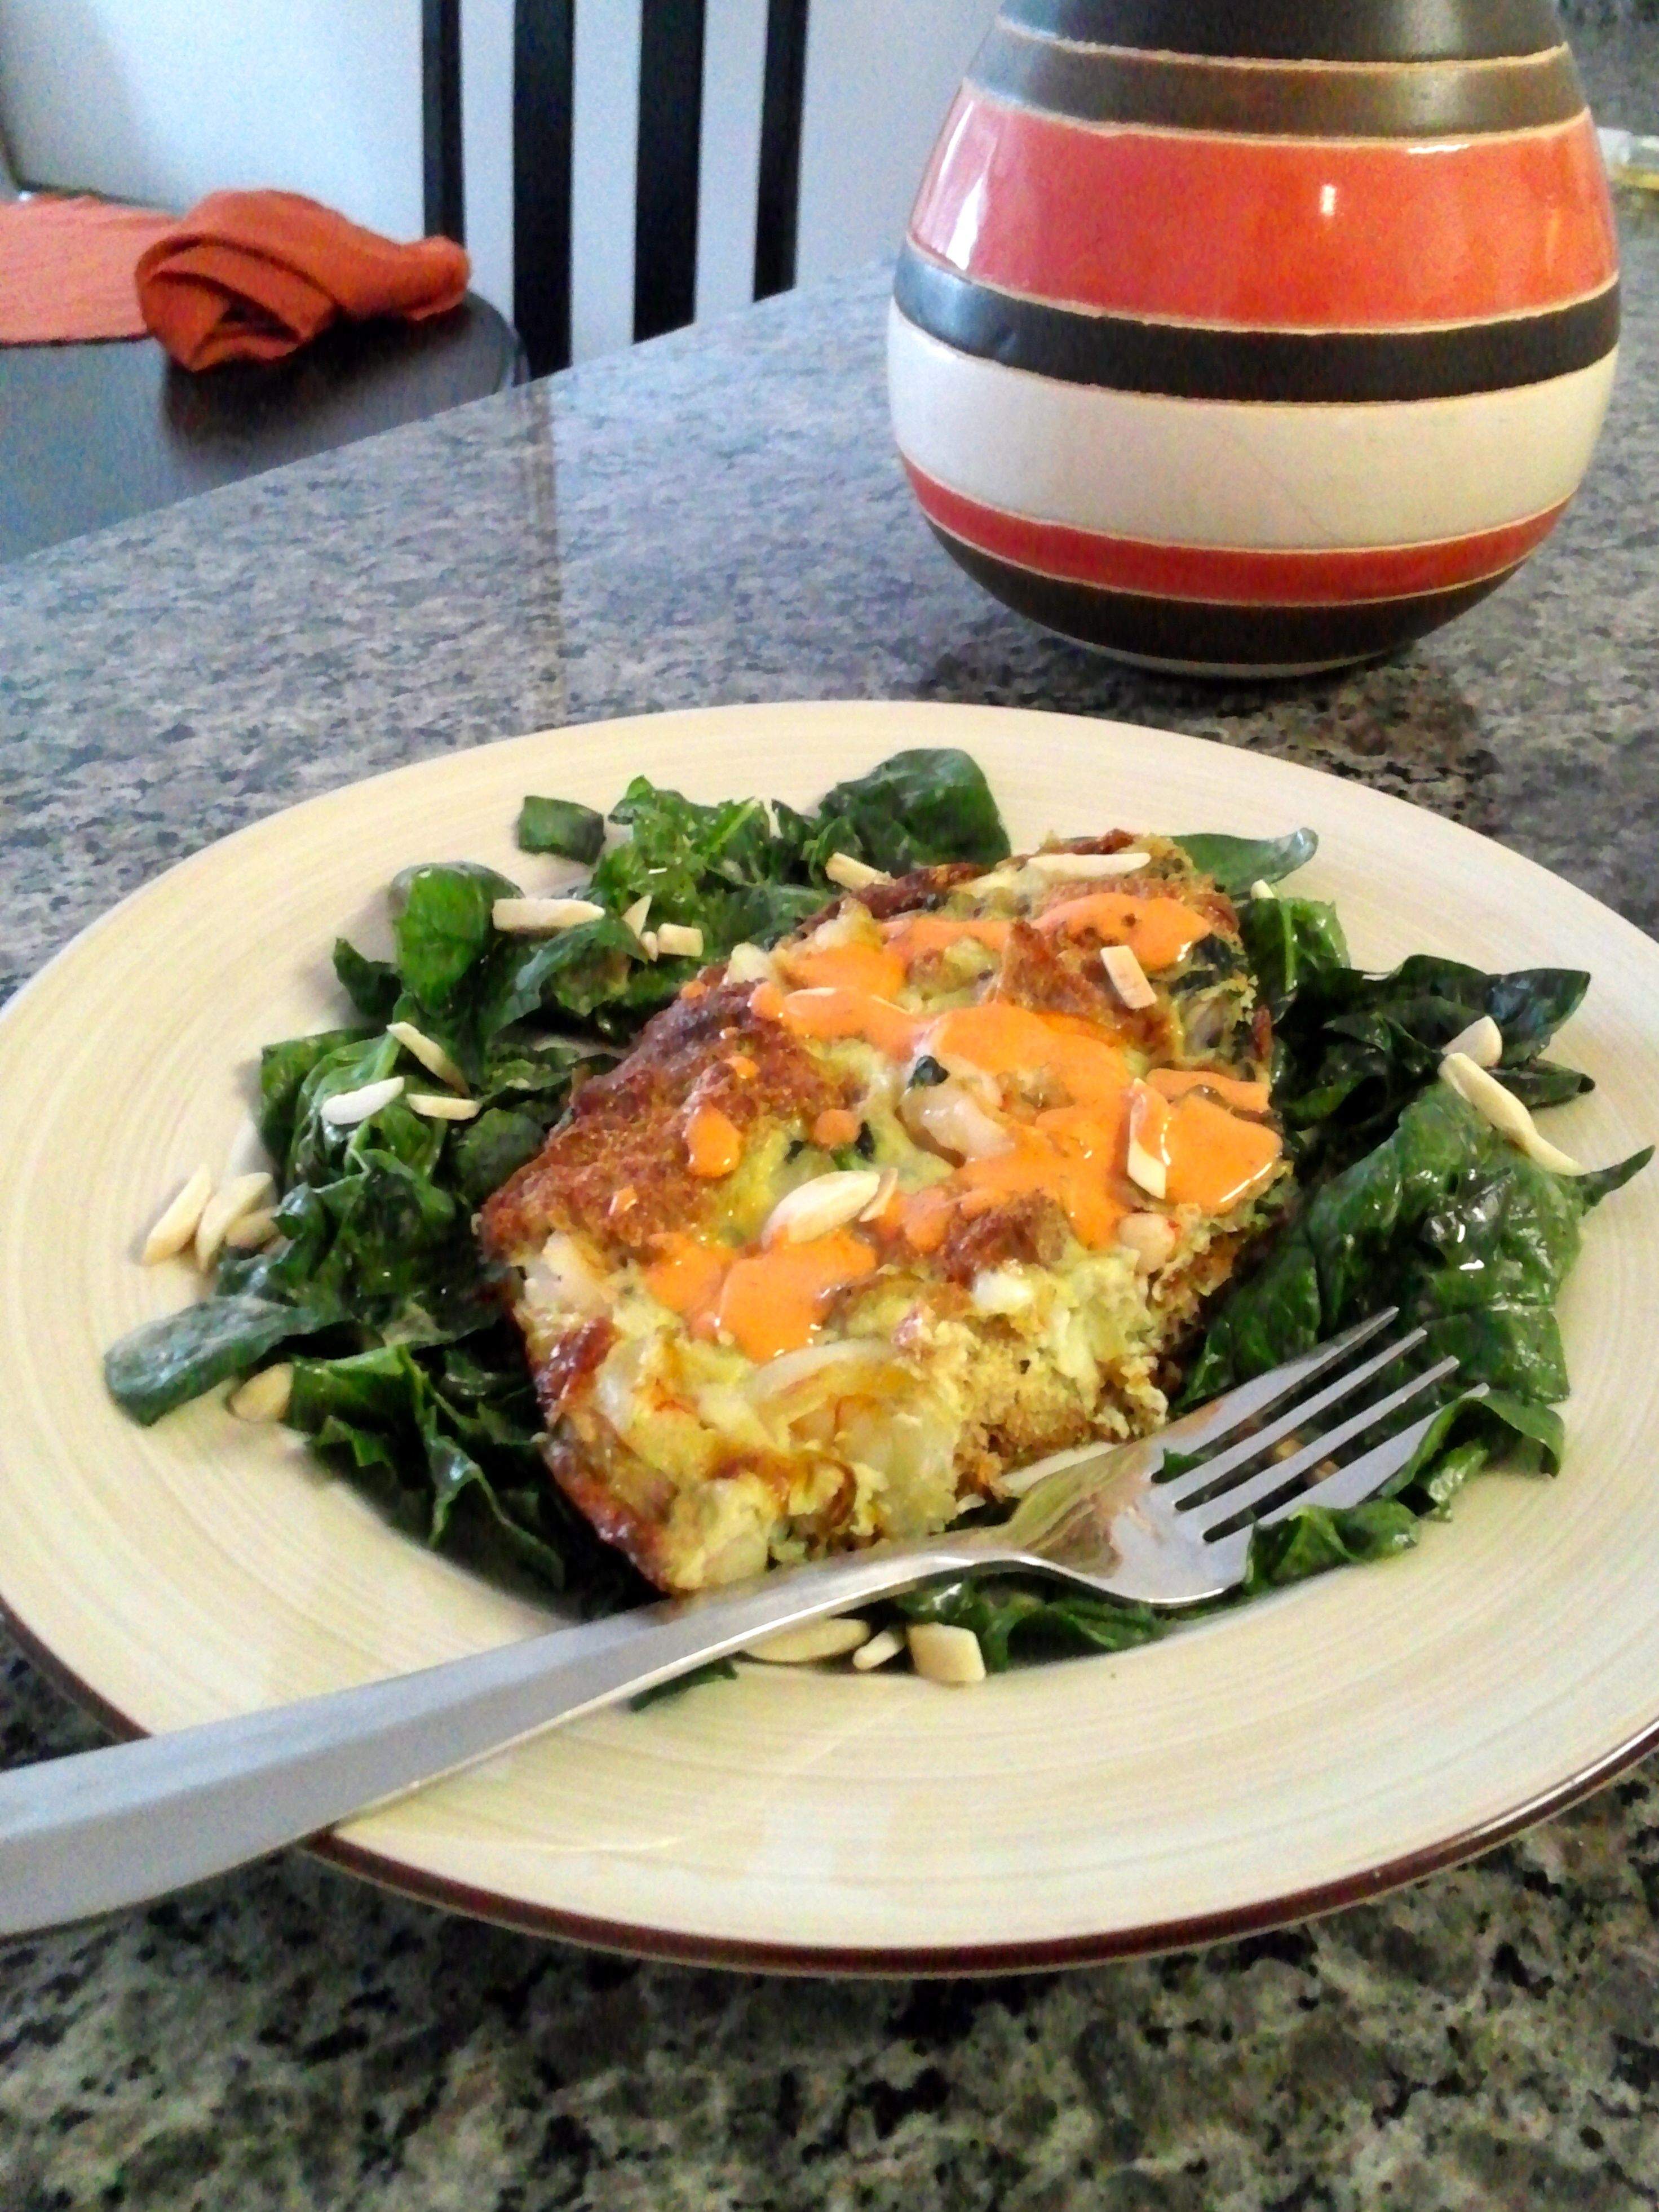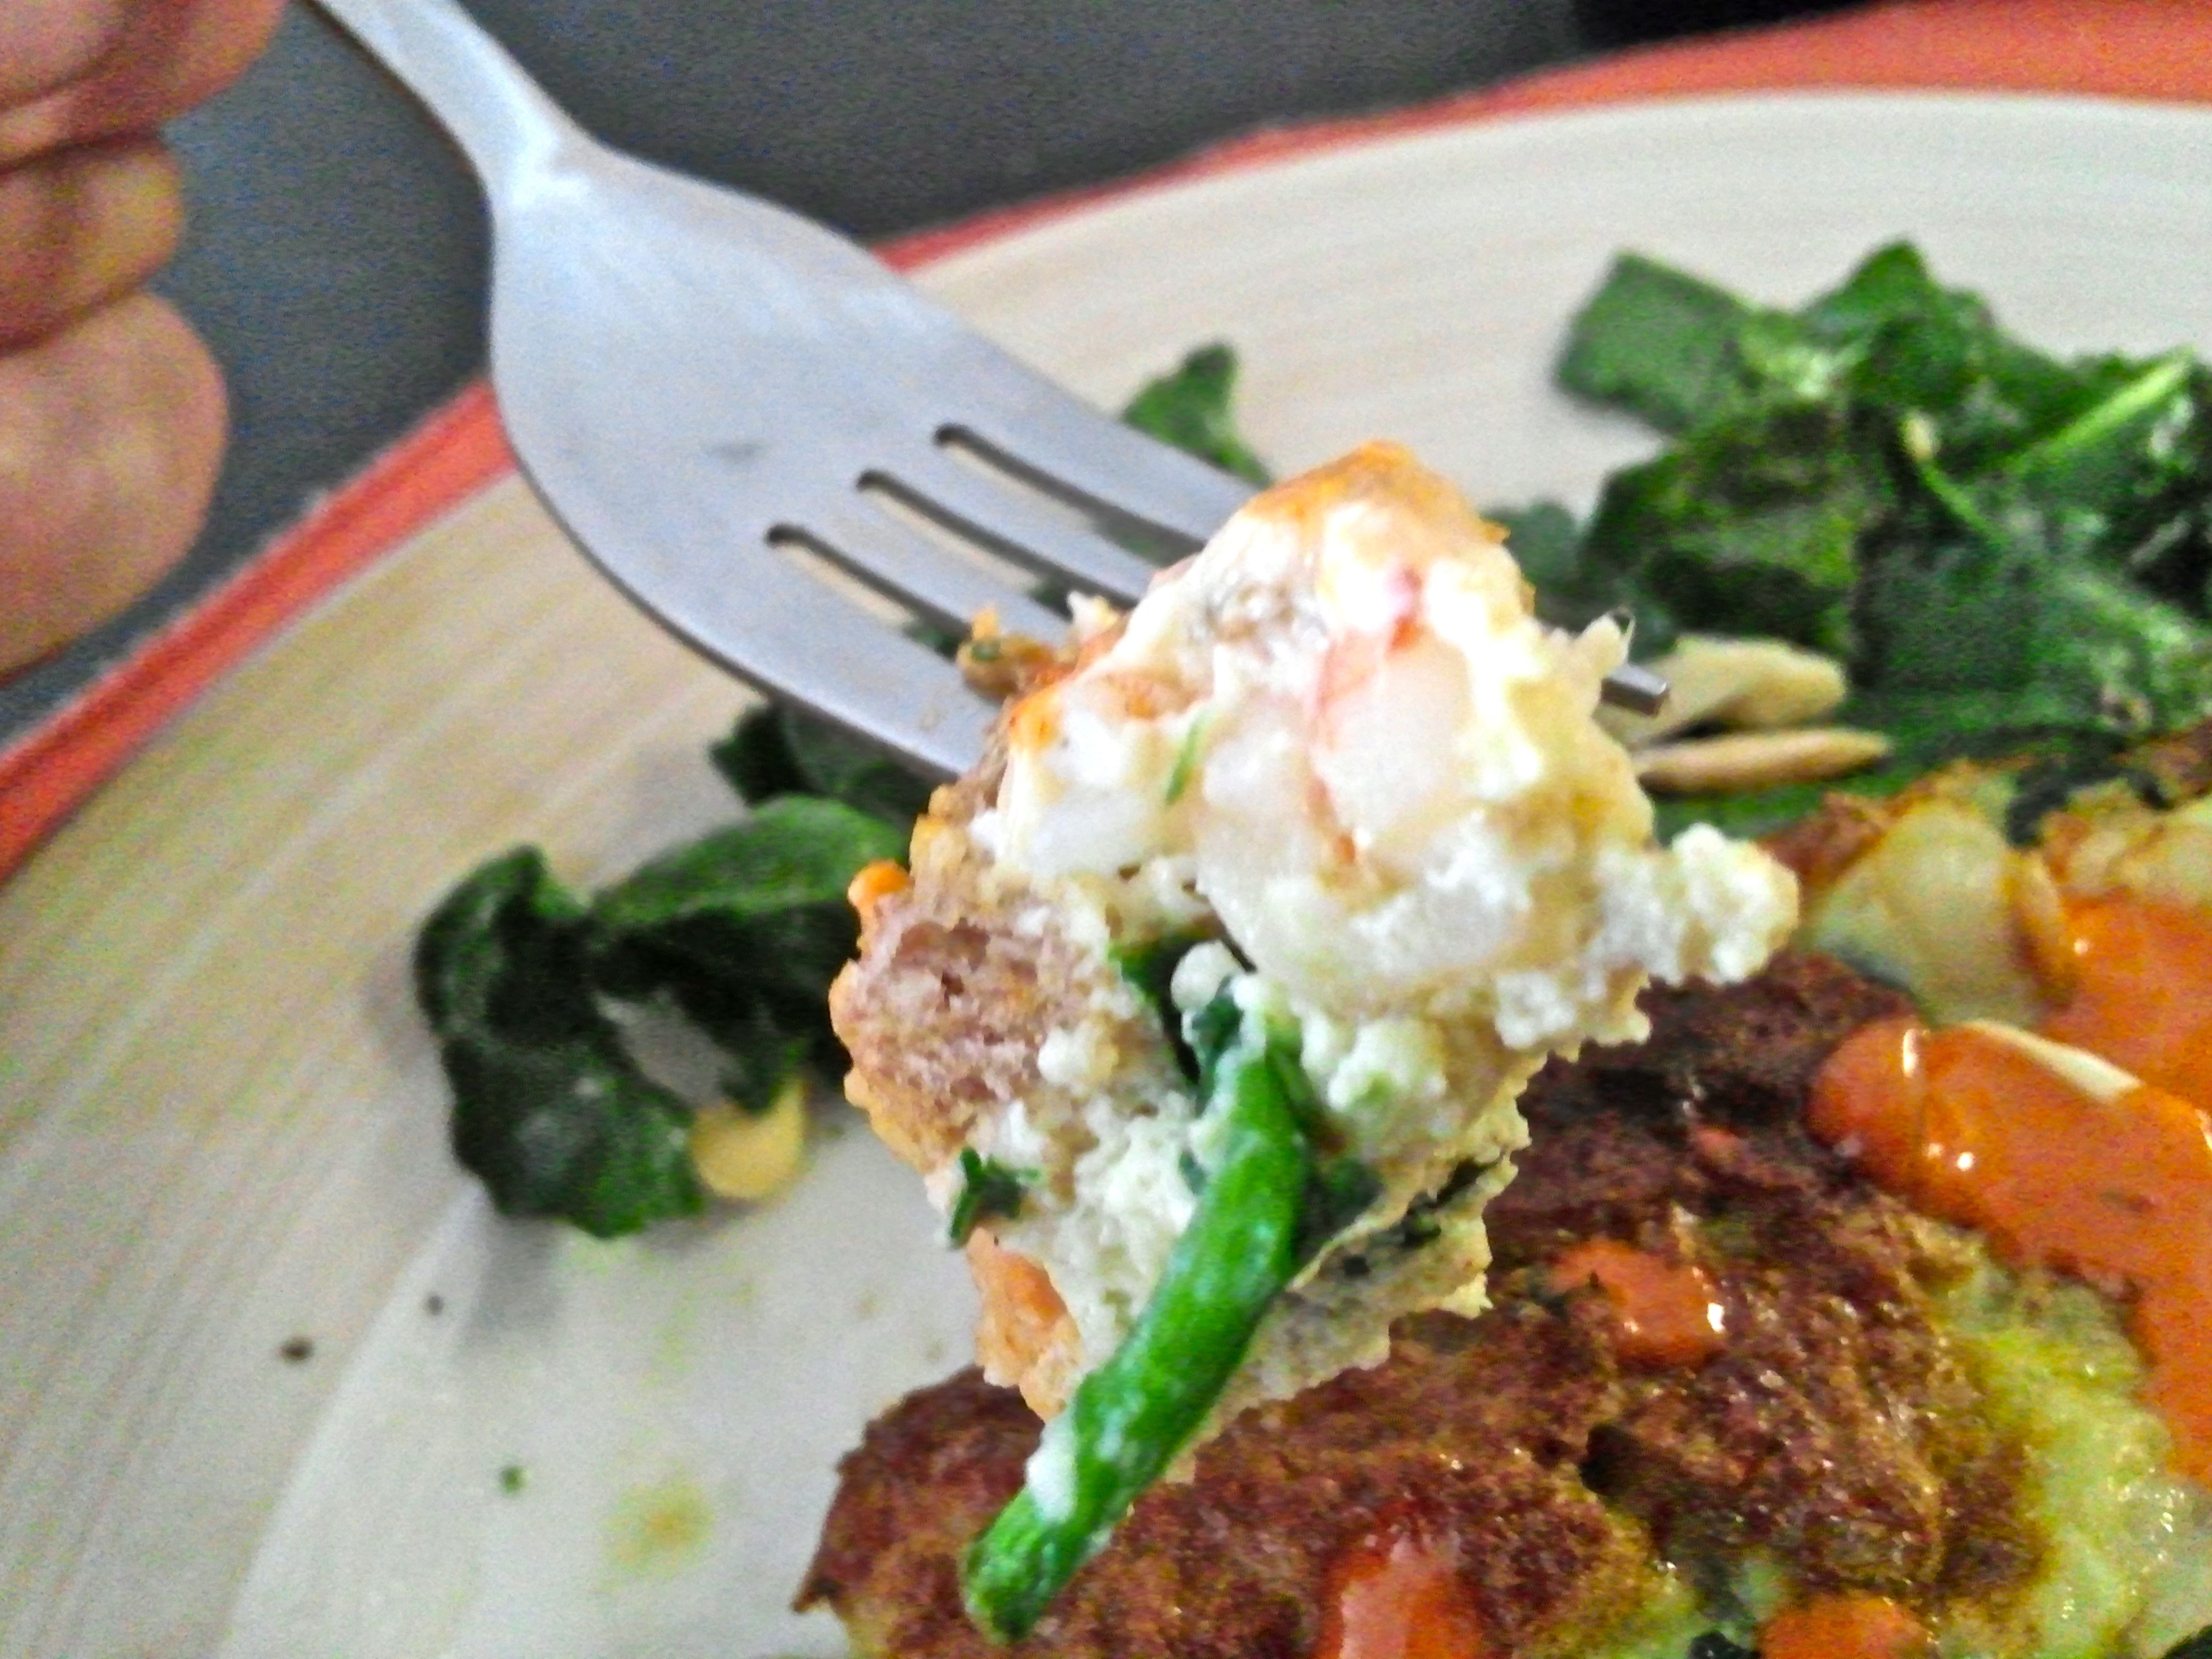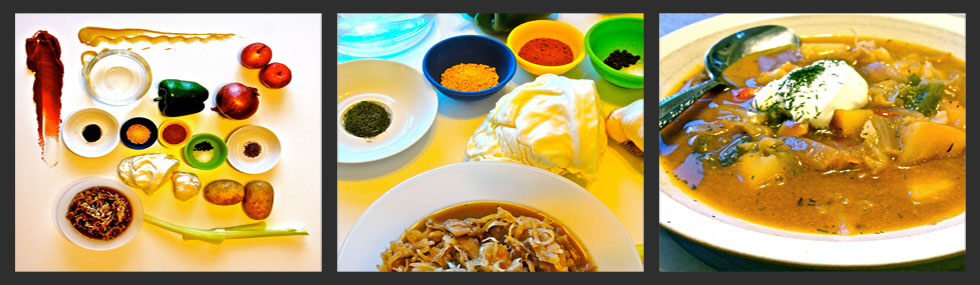

Leftover Curry Frittata (chickpea, cabbage, and coconut) served with cumin rice.
I make a lot of curries; they’re flexible and amenable to creativity with whatever vegetables you have on hand.
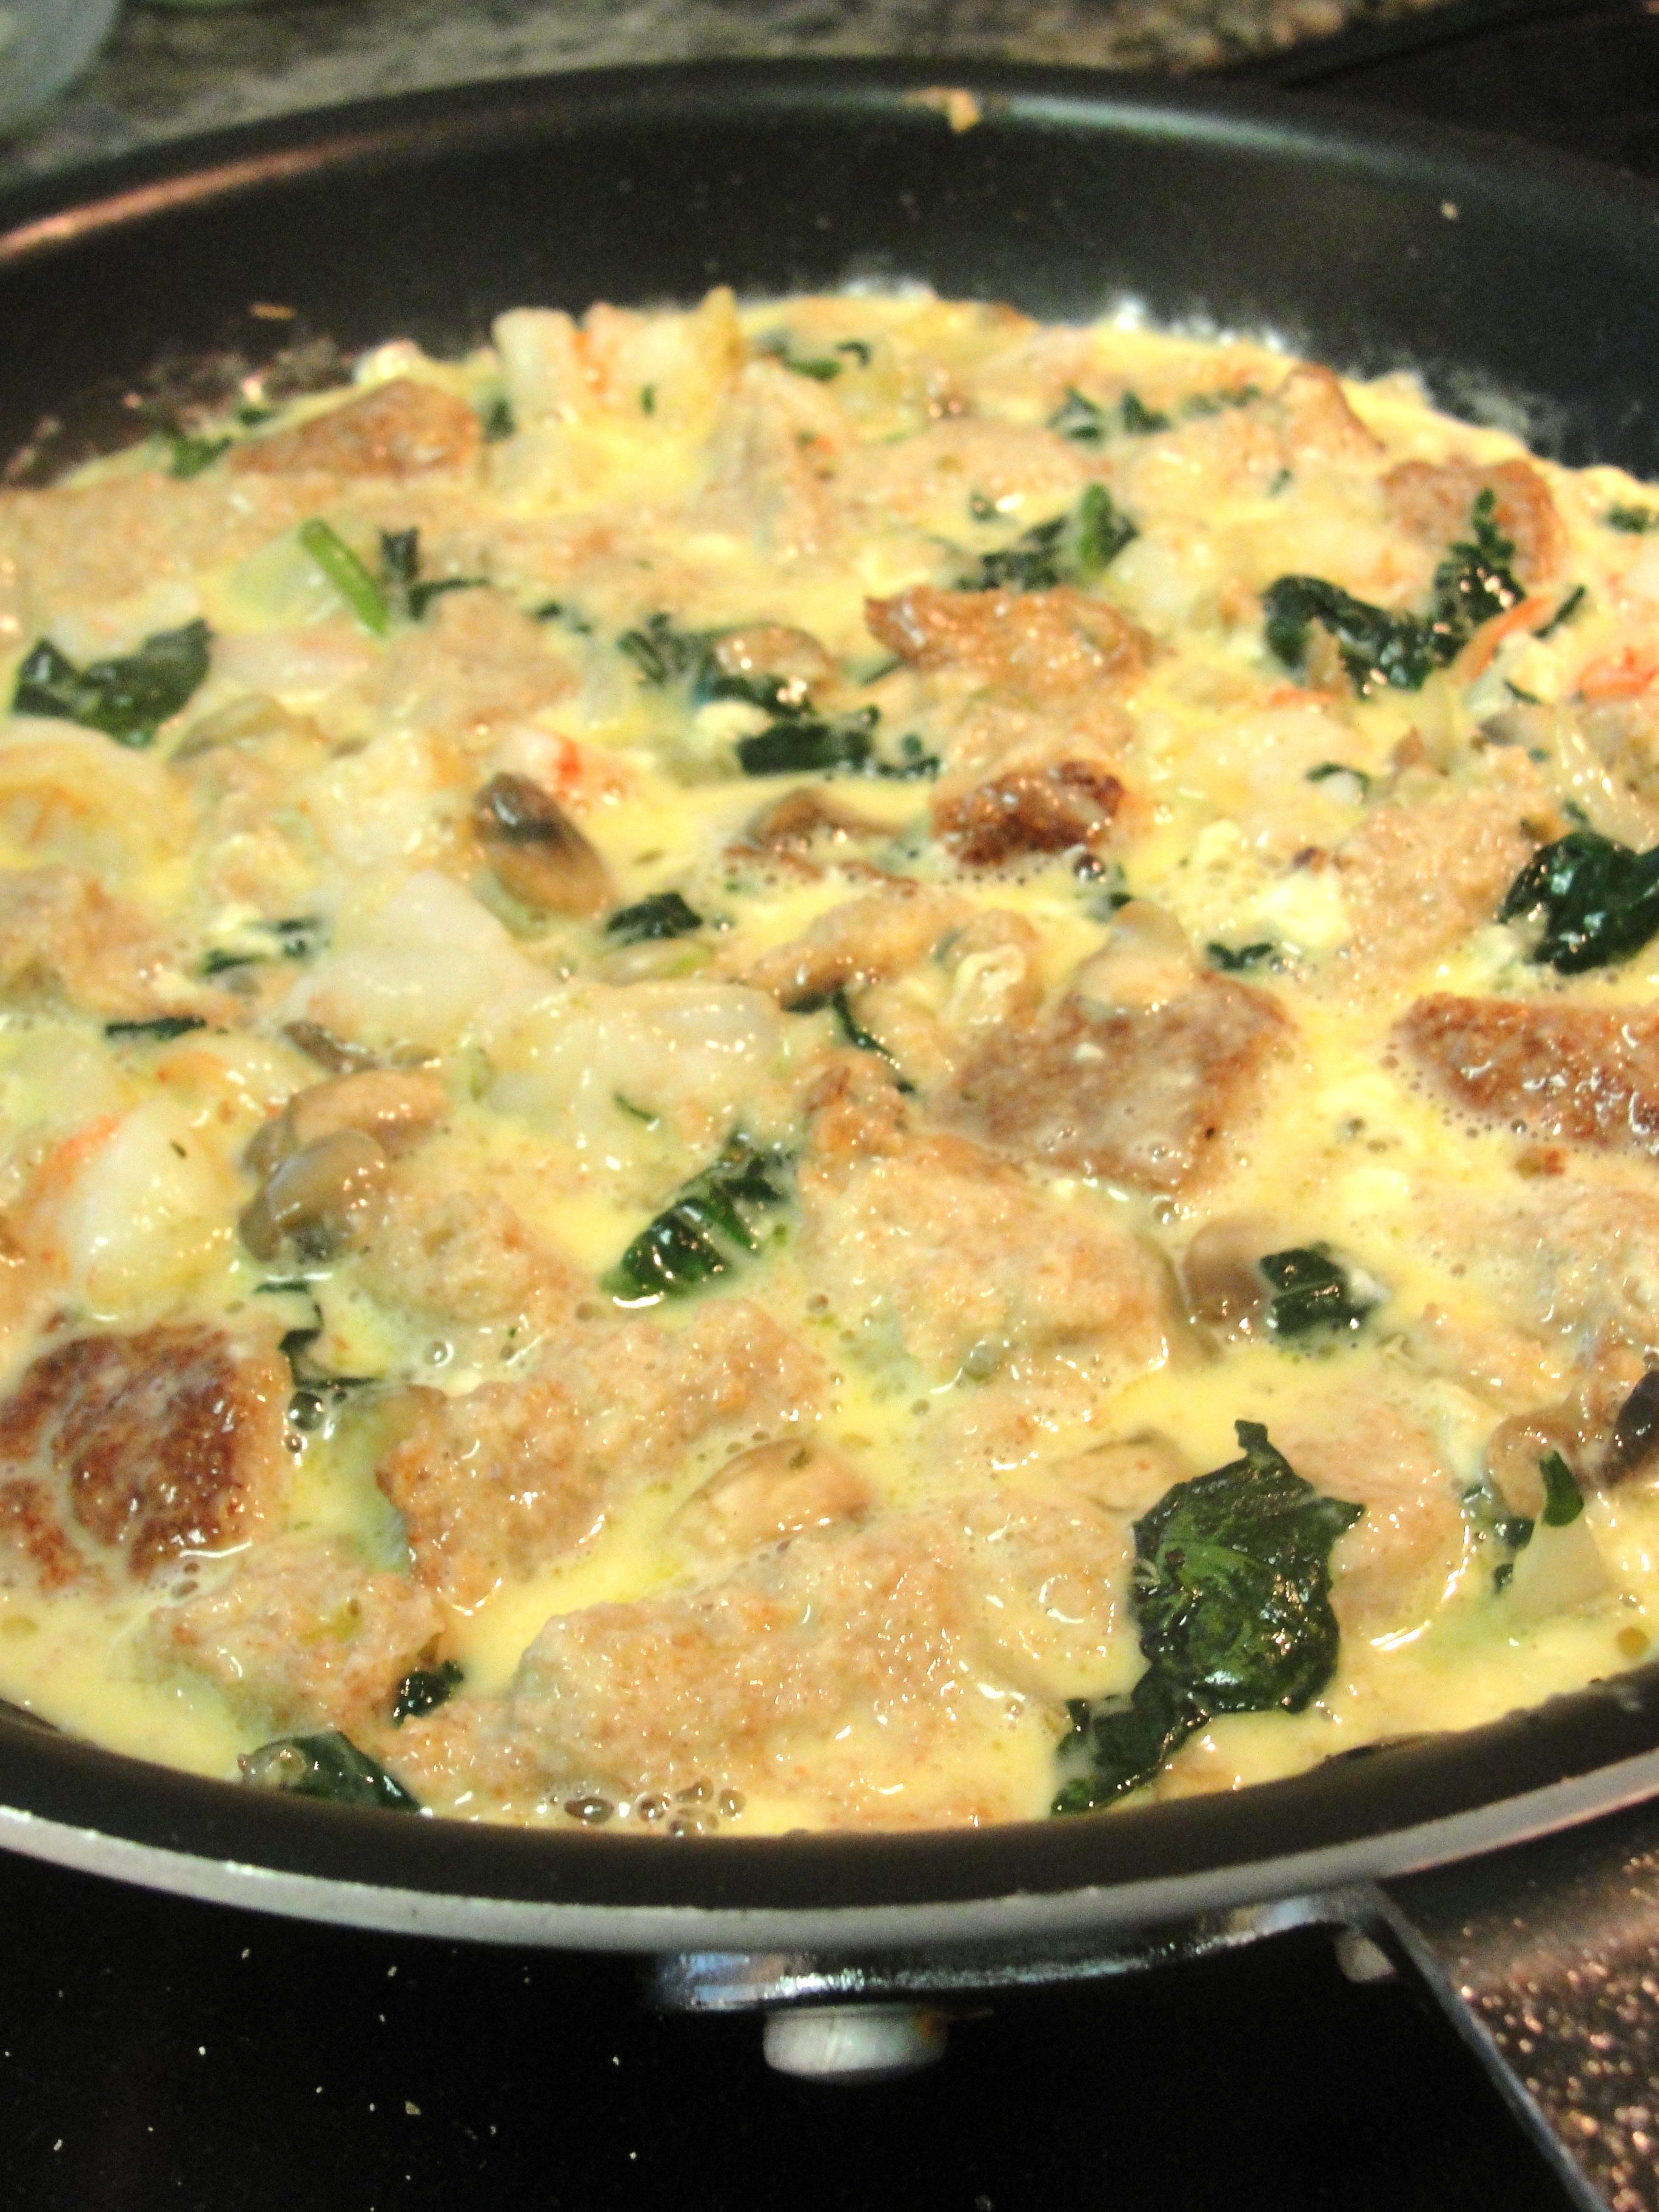
I’m not a big breakfast person, but I do occasionally make a frittata; it’s easier than most might think (and you don’t bother with a crust like quiche), as long as you have a skillet you can move from the stovetop to the oven.
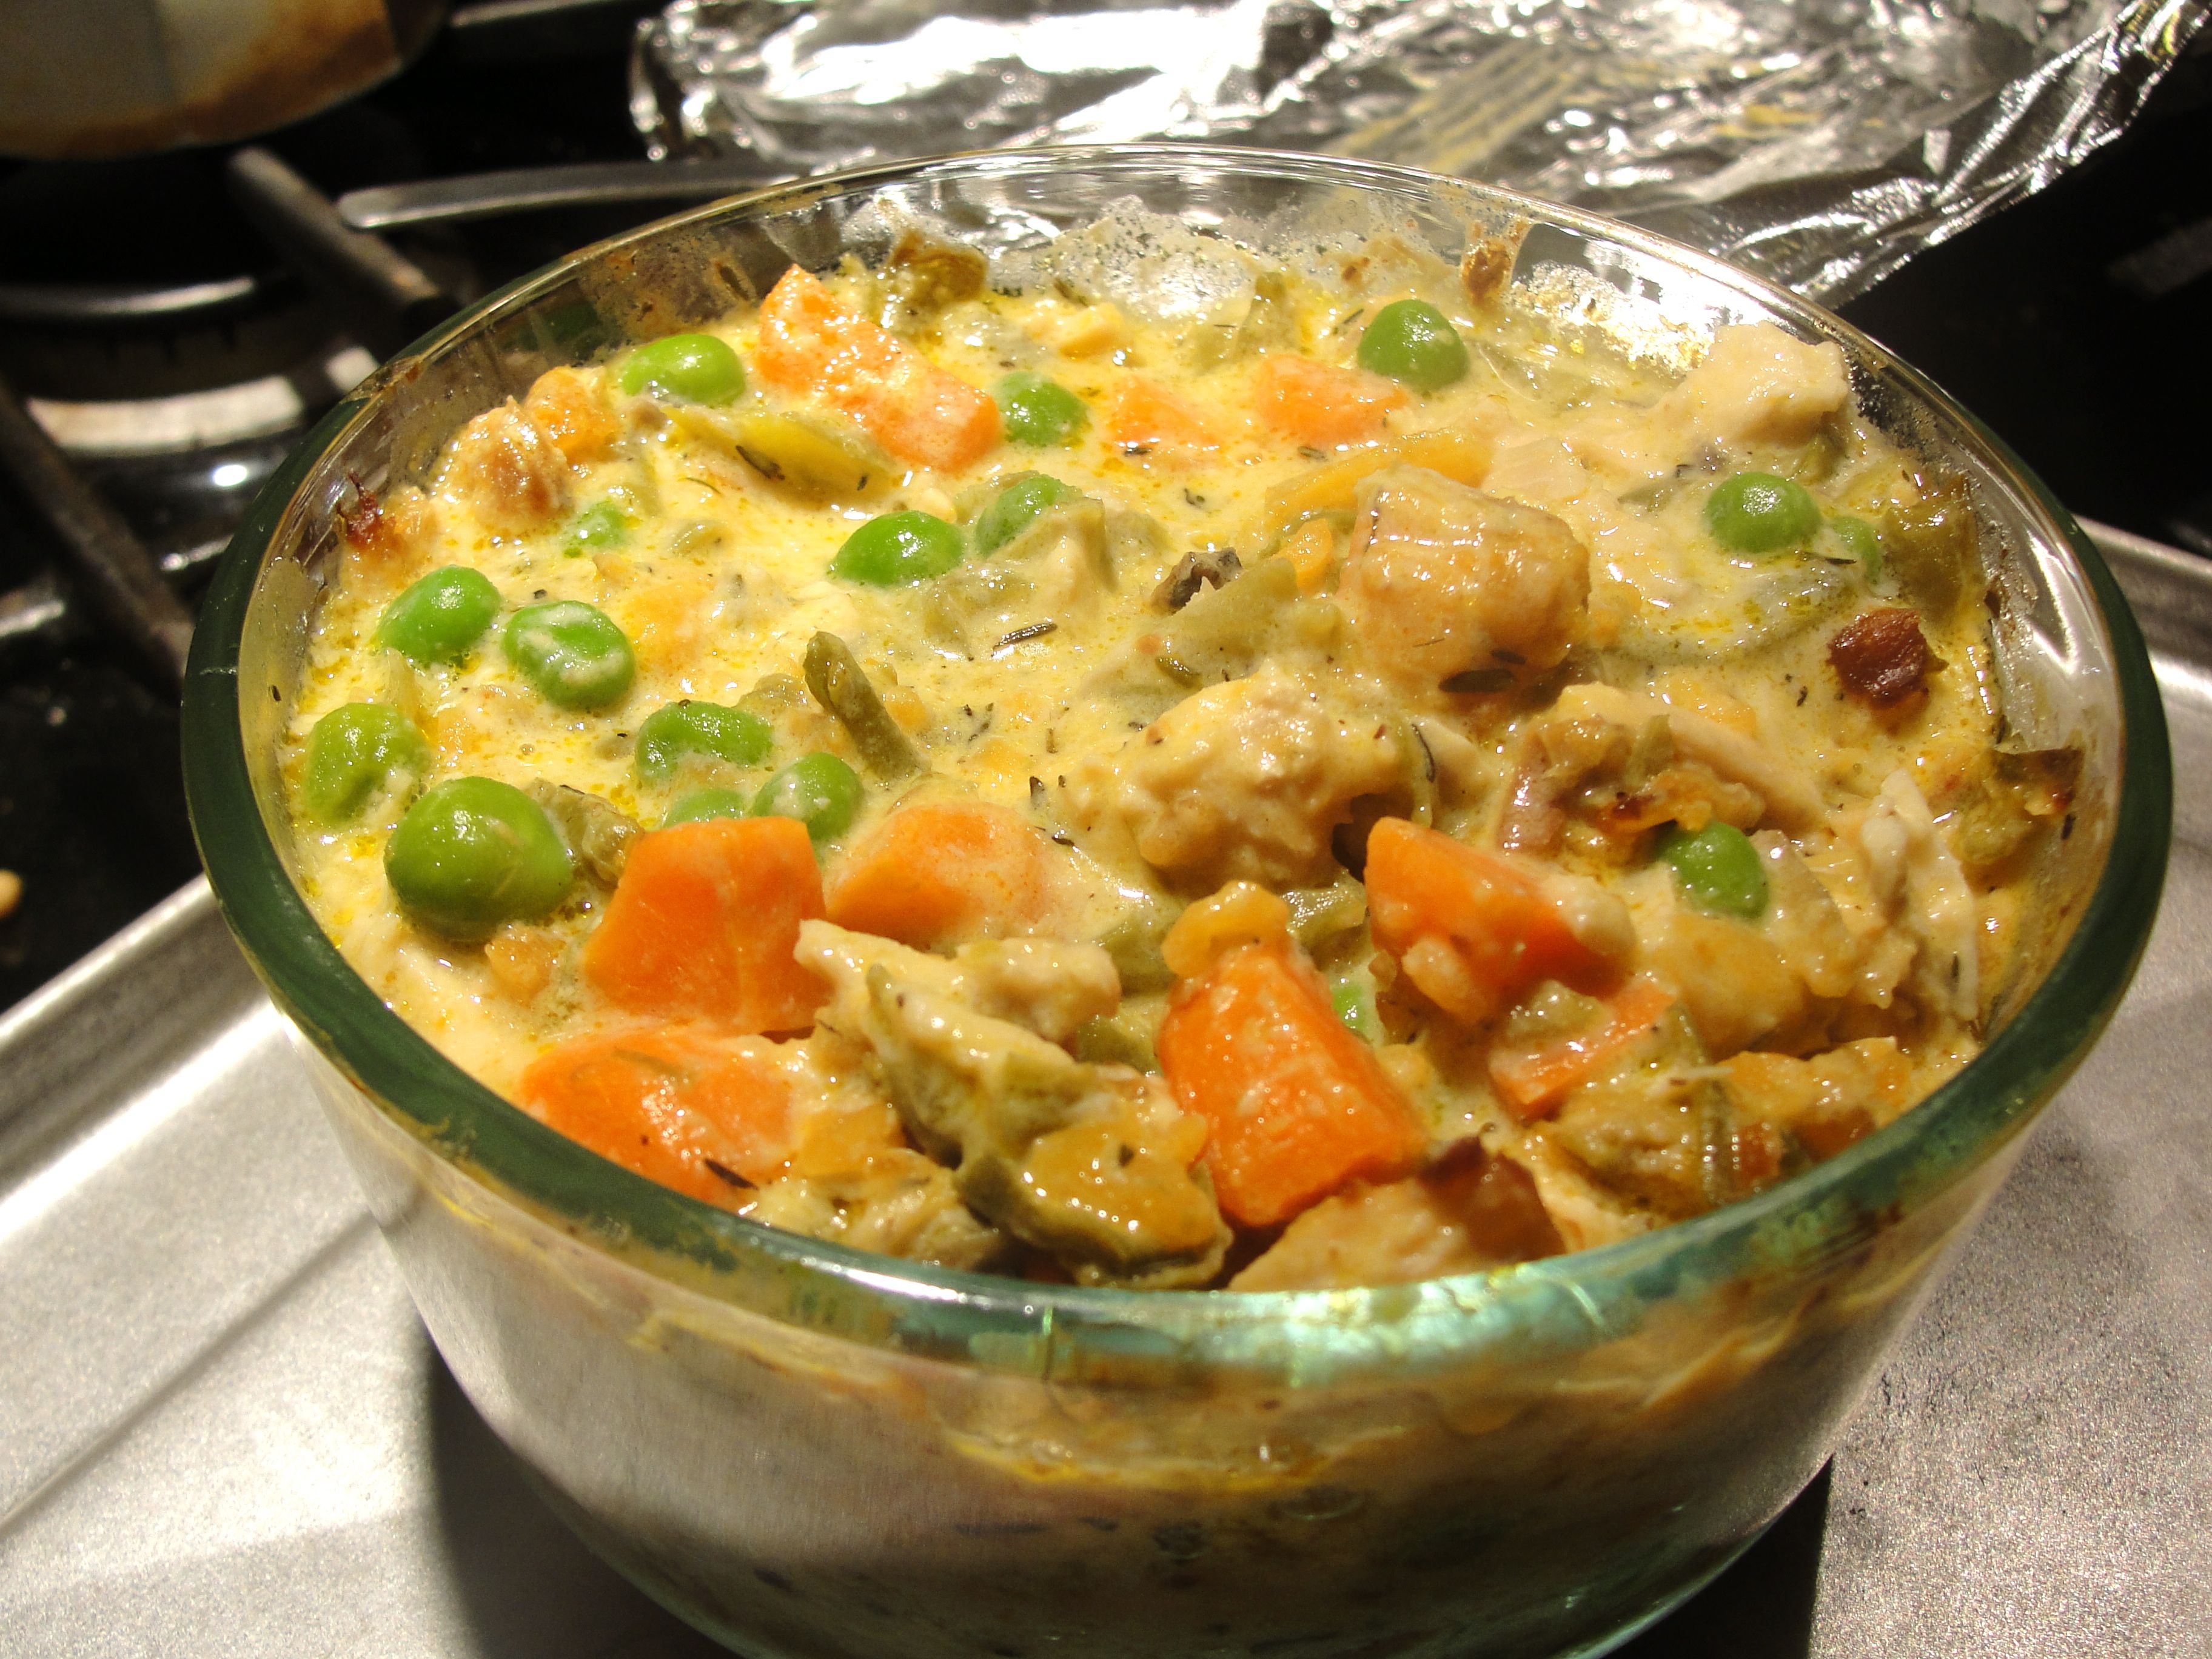
This Leftover Curry Frittata is simply a frittata made with your leftover curry from the night or nights before.
Here, I used a leftover curry made with cabbage, chickpeas, and coconut cream.
I bet you could even add a bit of leftover rice to the frittata, but rice also makes a nice side for breakfast.
Below are some related posts with preparation details for frittatas and vegetable curries.
Another tip is that I find that frittatas turn out fine with just egg and water (instead of milk), if you prefer to keep it dairy-free (or are out of milk, like me).
- Vegetable Frittata
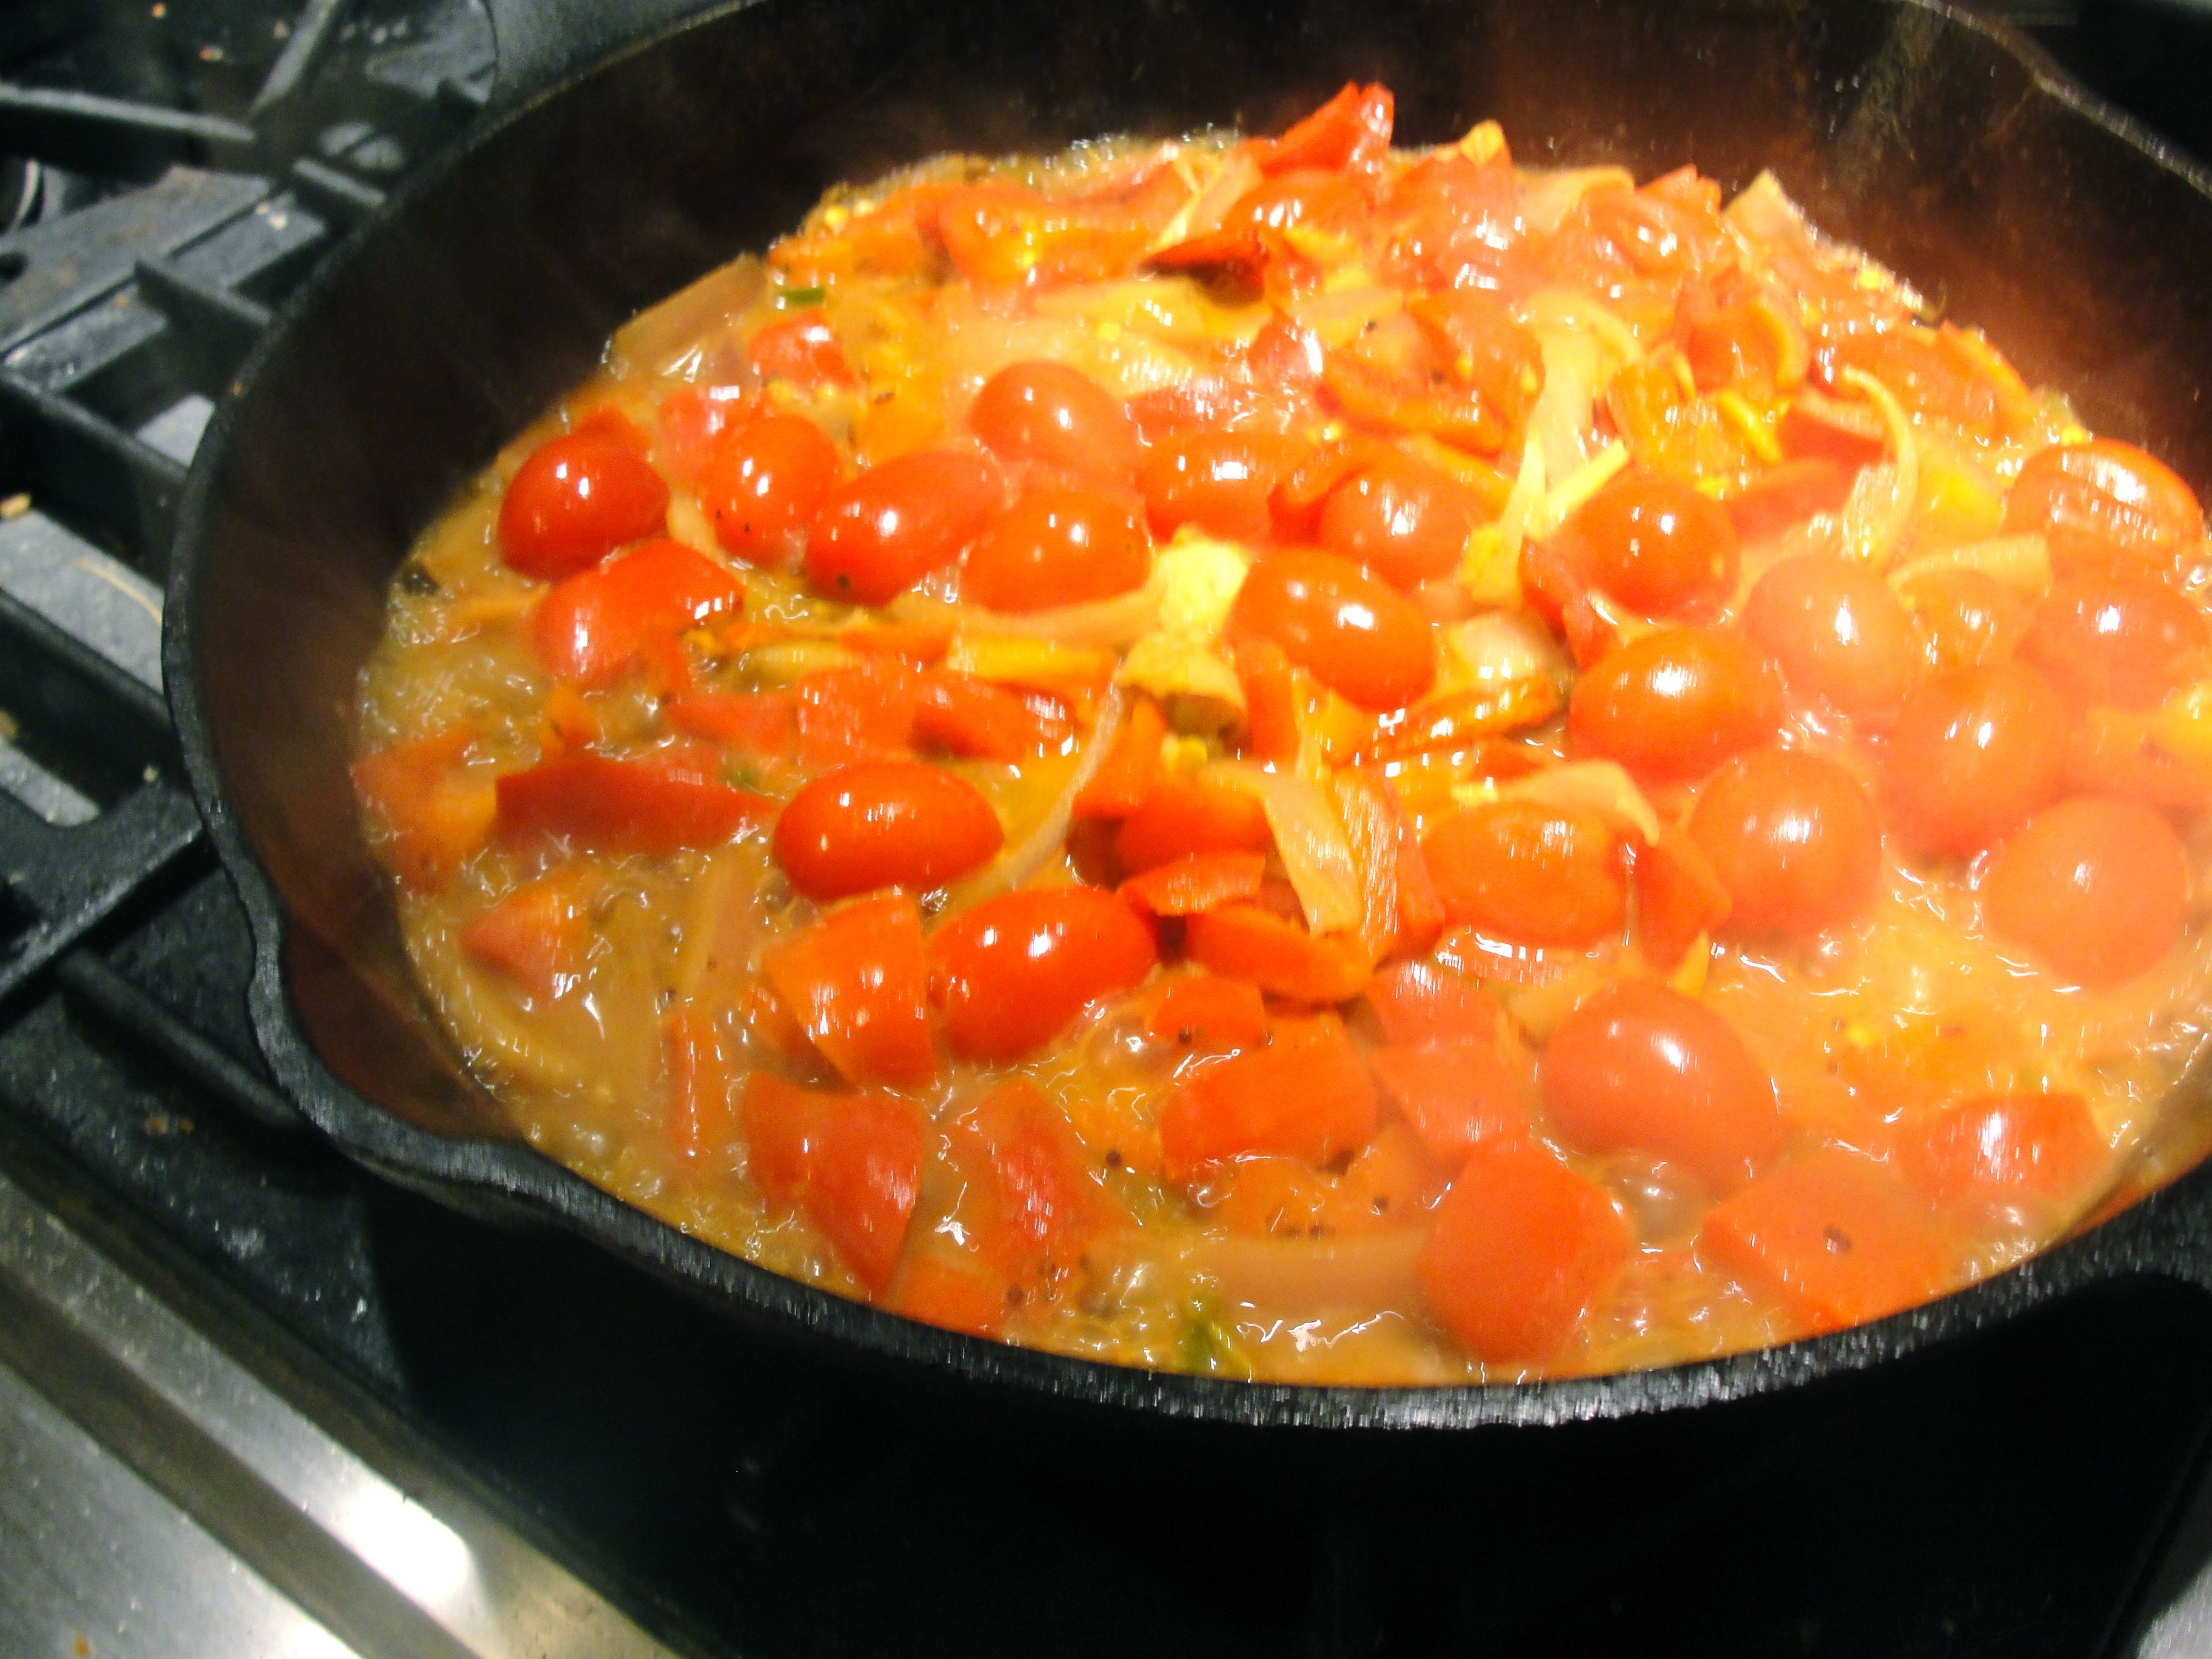
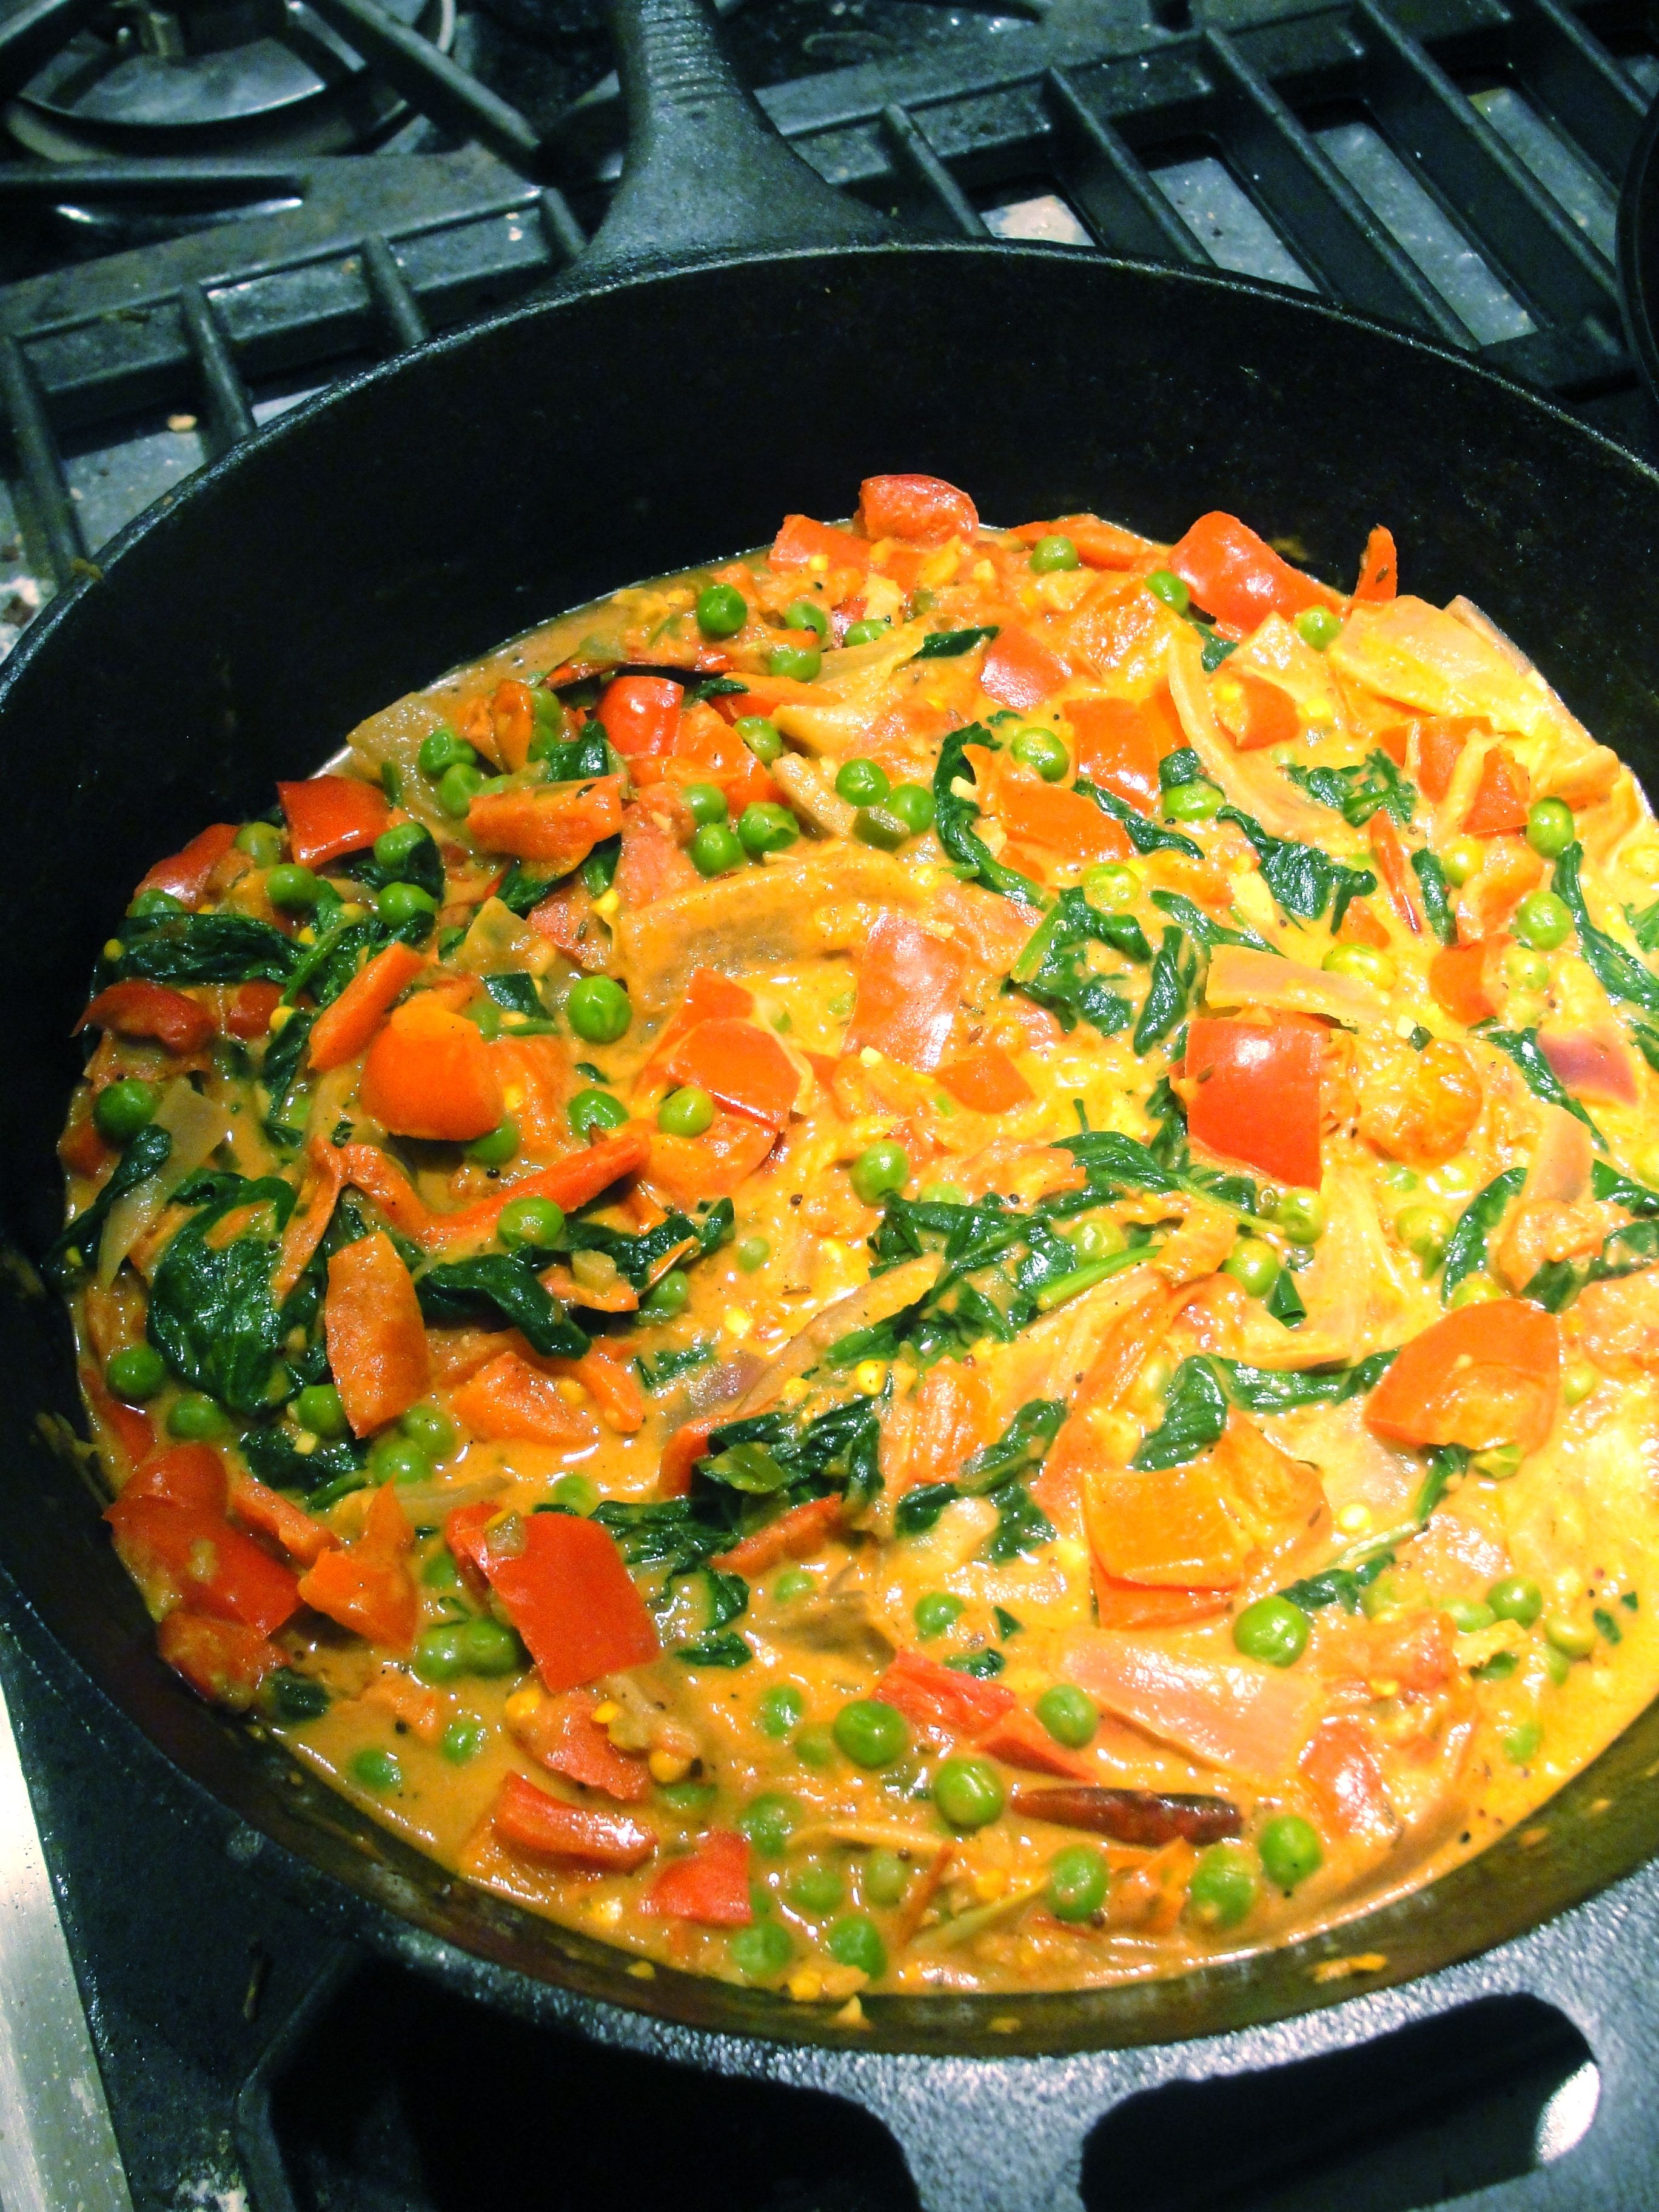
- Tomato Coconut Curry
- Colorful Coconut Cream Curry
- Squash, Potato, and Chard Curry
- Coconut Chana Saag (from “Things My Belly Likes”)
Asian-inspired frittatas are nice too, with chinese vegetables and a touch of hoisin and chili garlic sauce. Also, these are a bit less work than Egg Foo Young, that makes a great breakfast and reheats well.